Summary
👥 A game for 2 to 4 players
⏳ Playing time is 60 – 90 minutes
🏢 Publisher is Mindclash Games

Introduction
Emberheart is a thematic and surprisingly layered worker placement game in which you take on the role of the king’s champion, battling ruthless poachers. On an island where dragons still roam free, your goal is not only to rescue these majestic creatures, but also to earn as much Glory as possible. You achieve this by cleverly sending out your parties, developing your dragon, and making strategic decisions that grow in impact over the course of five rounds.
Let’s get it on the table
Emberheart is a thematic and surprisingly layered worker placement game in which you take on the role of the king’s champion, battling ruthless poachers. On an island where dragons still roam free, your goal is not only to rescue these majestic creatures, but also to earn as much Glory as possible. You achieve this by cleverly sending out your parties, developing your dragon, and making strategic decisions that grow in impact over the course of five rounds.
A game of Emberheart unfolds over five rounds, each consisting of four distinct phases: the Action phase, the Reward phase, the Raid phase, and the Reset phase. This structure creates a satisfying rhythm where planning, execution, and consequences constantly flow into one another. During the Action phase, players take turns until all Aides have been claimed. Then comes the Reward phase, where all placed parties generate their rewards. The game then shifts into a more defensive tone during the Raid phase, as the poachers strike back. Finally, the board is reset for the next round. This cyclical flow feels natural and ensures that each round tells a small story: you set things in motion, reap the benefits, and then deal with the aftermath.
On your turn, you always have three clear choices, and this is where the heart of the game lies. The primary action is sending a party to a location. You physically create a stack of 1 to 5 Hirelings (your workers) and place your crest on top. This stack is then placed on a numbered space at a location that matches the number of Hirelings used. The larger your party, the stronger your position later in the round, as bigger groups get to choose rewards earlier.
In addition, you can spend Gear during your turn to transform your Hirelings. Concretely, this means spending a token to replace, for example, a basic Grunt with a specialist such as a Scout, Ranger, or Warden. This is done from your personal supply and only during your own turn. This decision is crucial, as certain locations are only accessible to specific types.
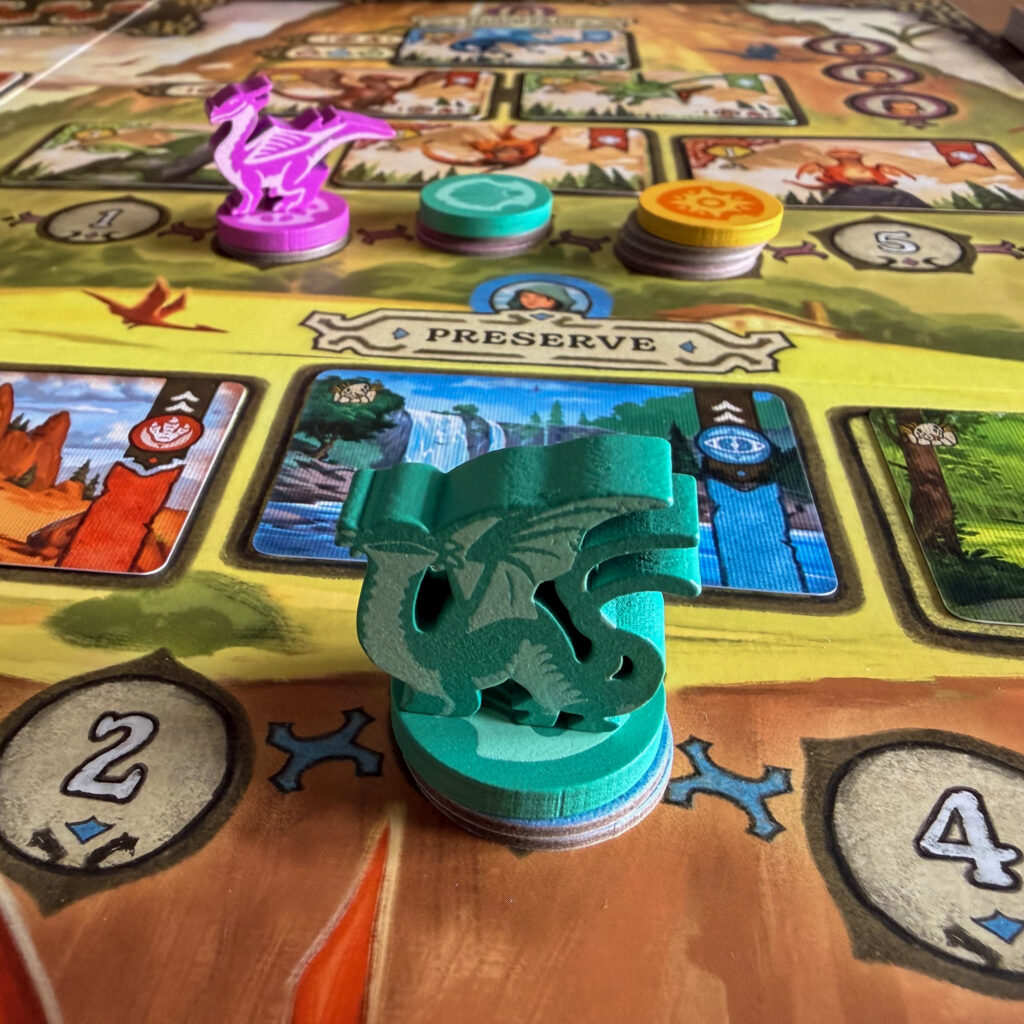
Another layer comes from your Dragon Companion. Once per round, you may place it on top of one of your parties. Physically, you place your dragon on top of your crest in the stack. The companion provides immediate benefits, such as strengthening your party (as if you had extra Hirelings), gaining additional Gear, or reducing your Flame. This makes timing essential: where and when you deploy your dragon can make a big difference.
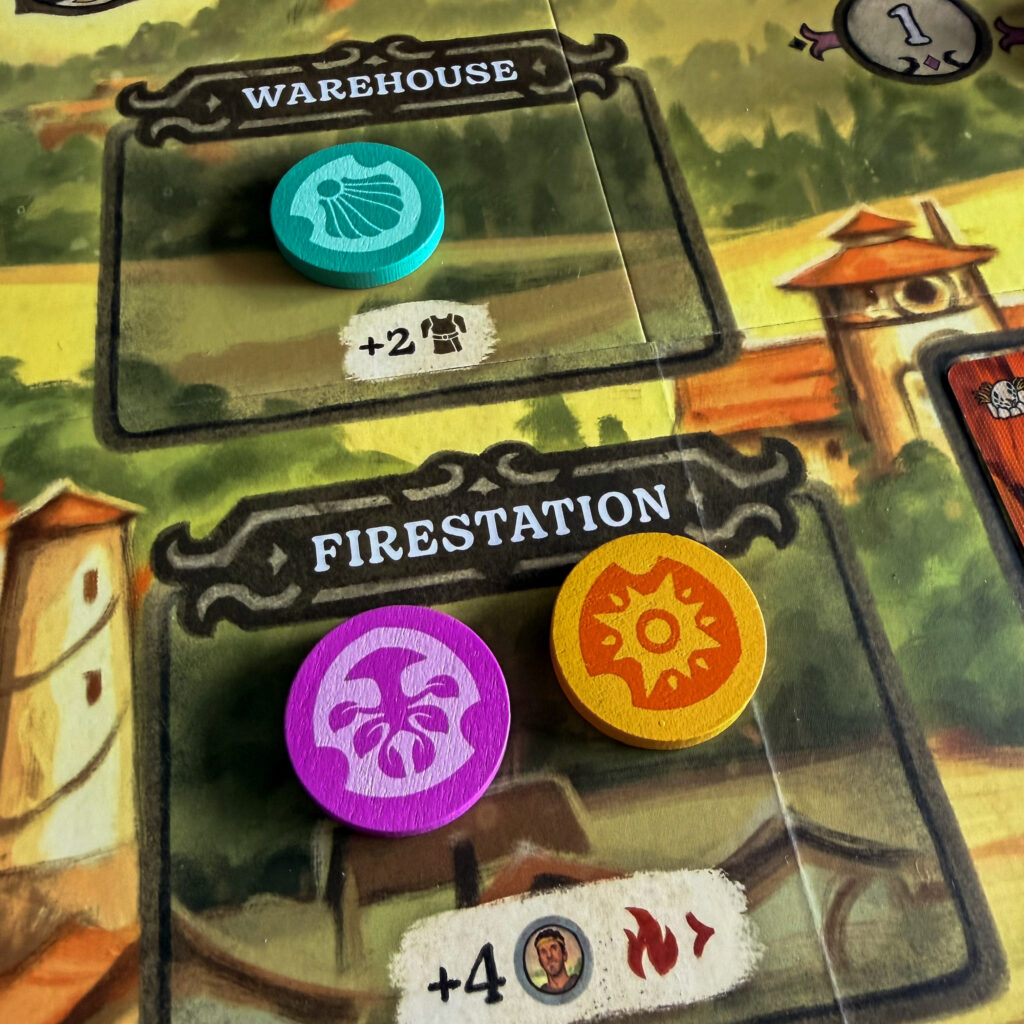
The second action option is using a Special Location. Instead of placing Hirelings, you simply place a crest on locations like the Firestation or Warehouse. This grants immediate resources, such as extra Grunts or Gear, but may also come with a downside, like increasing your Flame.
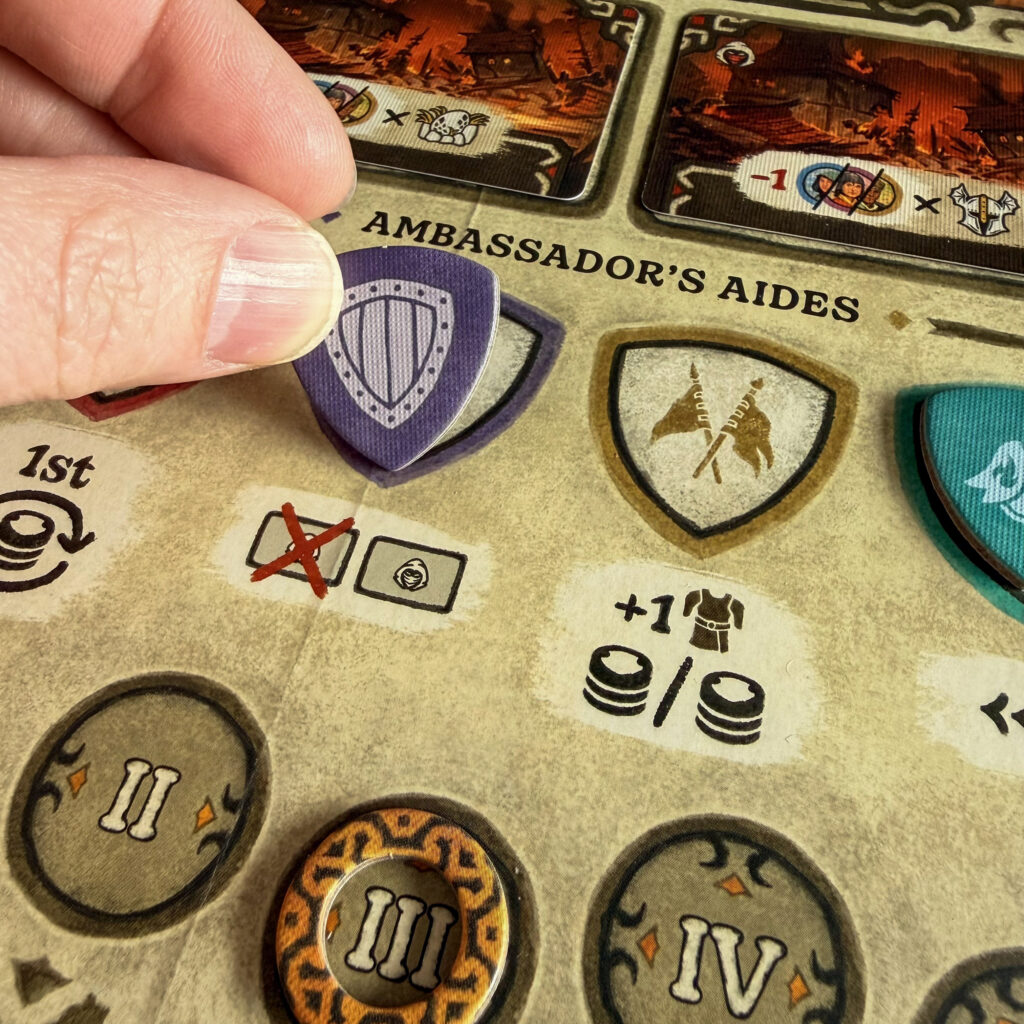
Finally, you can choose to take an Aide. You select one of the available Aide tokens and immediately resolve its effect. This might involve recalling and redeploying a party, removing a threat, or lowering your Flame. This action is particularly interesting because it also brings the end of the Action phase closer.

The party placement system is a clever twist on traditional worker placement. You are not only deciding where to go, but also how much strength to commit. Investing heavily lets you choose earlier, but costs more resources. The different Hireling types add meaningful specialization. Scouts unlock certain locations, Rangers work closely with dragons, and Wardens are essential for tackling the dangerous mountain. This forces you to plan ahead and carefully build your team.
Your Dragon Companion grows throughout the game via three attributes: Strength, Senses, and Speed. Improving these unlocks stronger effects and also grants endgame points, effectively creating a personal engine that you develop over time.
There is also the Flame system, which acts as a risk meter. Many powerful actions increase your Flame, but the higher you end up, the fewer bonus points you receive at the end. This creates a constant tension between short-term gains and long-term efficiency.
The Action phase ends as soon as the last Aide is taken. After that, all locations are resolved one by one in a fixed order, with players choosing rewards based on the size of their parties. Once rewards are collected, the Raid phase forces players to discard Hirelings according to the remaining Raid card. If you cannot, your Flame increases. This acts as a firm but interesting check on overly aggressive play.
During the Reset phase, the board is refilled with new cards, Aides are returned, and the next round is prepared. One important detail: your Flame remains where it is, meaning your earlier decisions continue to have consequences.

The Game ends
At the end of the fifth round, final scoring takes place, and it is wonderfully multifaceted. You first score points for all the dragons you have collected, regardless of where they are. Then you evaluate your Dragon Companion, where only the highest value reached on each attribute track counts, making specialization an important consideration.
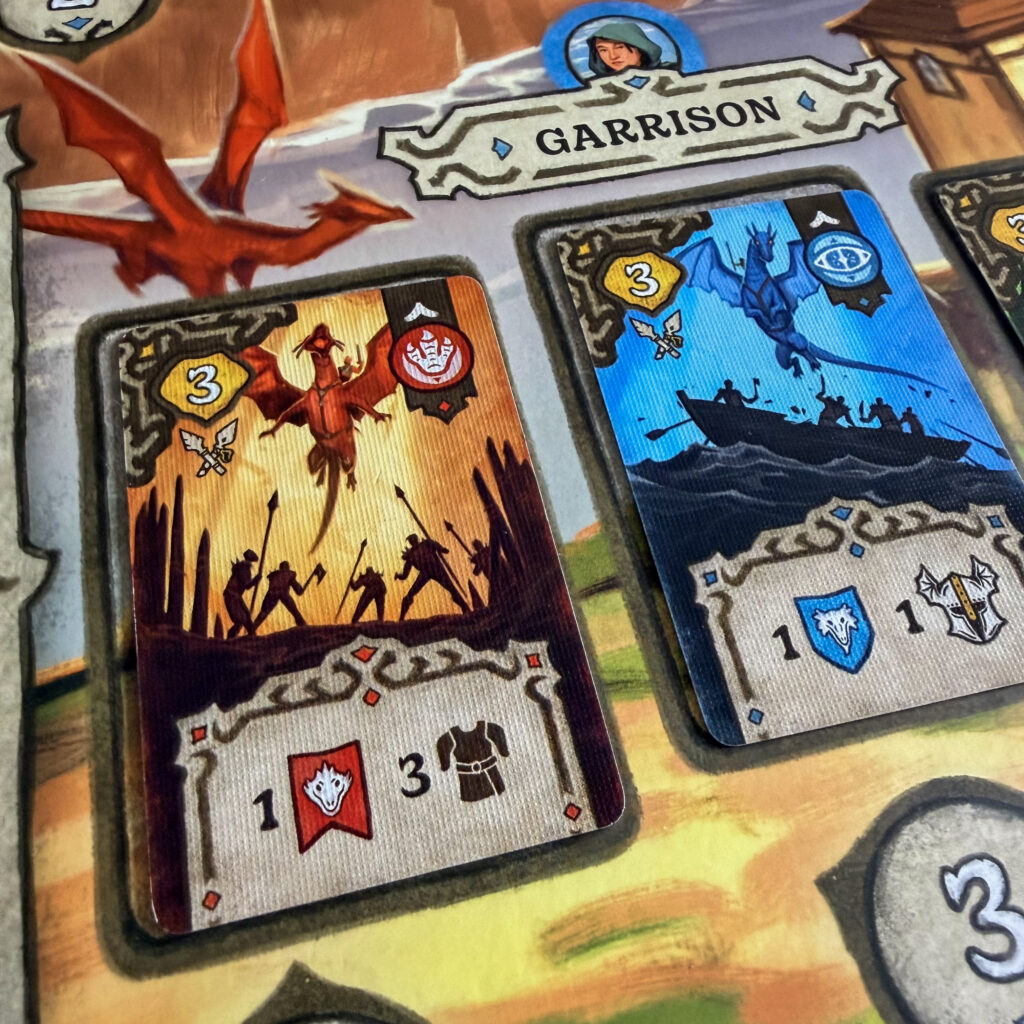
Heroes provide points, but only if they are paired with a dragon of the matching color and their specific conditions are met. This makes them strategically interesting, but never guaranteed. Garrison cards grant points once their requirements are fulfilled, encouraging focused collection and planning.
Finally, there is the Flame scoring. The player with the highest Flame receives no bonus, while all others gain additional points depending on how far below they are. This system rewards controlled play and ensures that even small differences can have a meaningful impact.

Final Conclusion & rating
Weight: 2.69/ 5
Replayability: 7
Our rating: 8 out of 10 dices
Emberheart is a rich, thematic puzzle where every system is tightly connected. It blends worker placement, resource management, and engine building, but stands out thanks to its clever Party system and evolving Dragon Companion.
Every turn feels meaningful. Do you commit a large party to secure the best rewards, or play more efficiently with smaller groups and smart actions? As you go, you build your strategy around Heroes, Dragons, and upgrades, all while managing the growing pressure of Raids and your Flame.
The game shines in how smoothly its mechanics come together. Your parties, your dragon’s development, and your risk management constantly interact, creating a satisfying balance between risk and reward. There’s a strong sense of progression as your engine grows, yet the game keeps you on your toes with ongoing threats.
Interaction is subtle but ever-present, driven by timing and competition for key spaces. Combined with high replayability and multiple strategic paths, Emberheart offers a tactical experience that stays engaging without becoming overwhelming.
It’s a game that reveals more depth with each play, rewarding thoughtful planning and adaptability. A great choice for players who enjoy strategic puzzles with a strong theme and meaningful decisions throughout.
🙏 Thanks to Mindclash Games for providing this review copy and the opportunity to write about it.