Summary
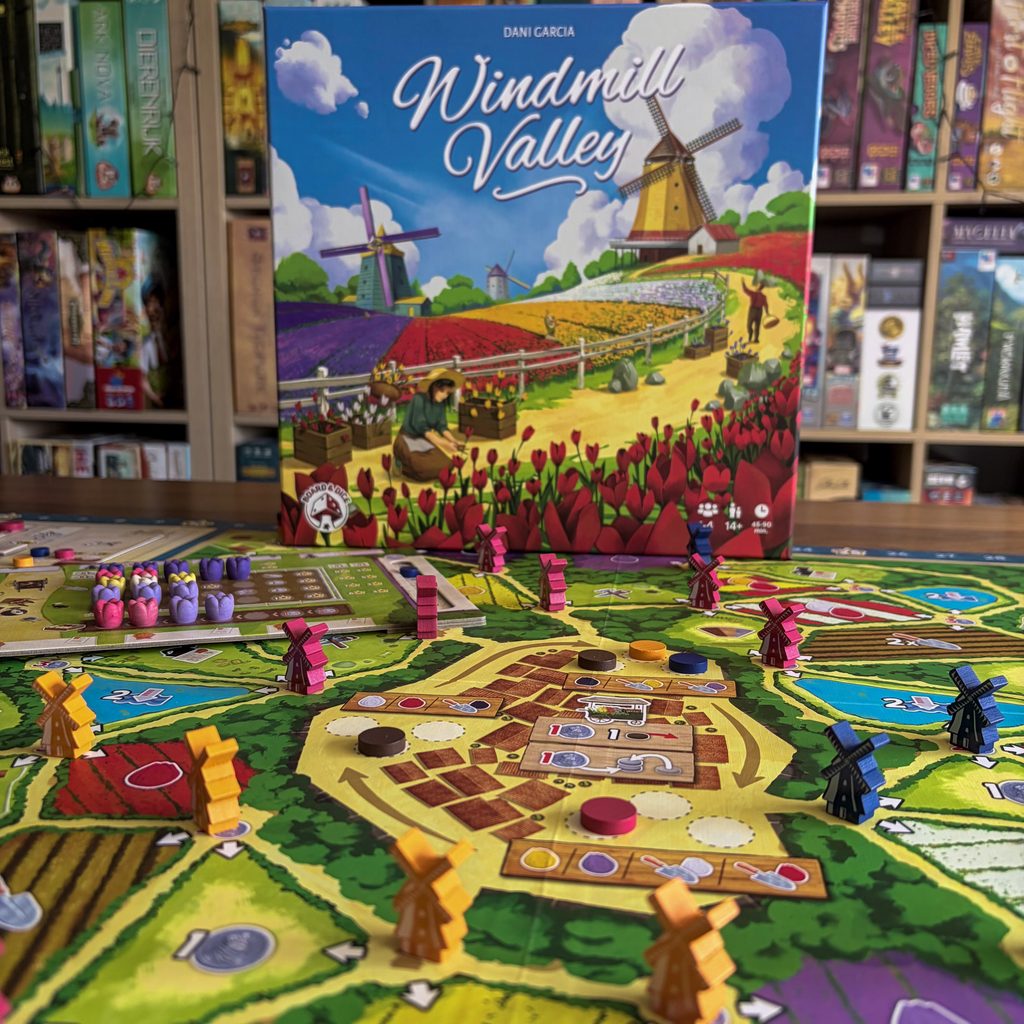
👥 A game for 1 to 4 players
⏳ Play time is 45- 90 minutes
🏢 Publisher is Board & Dice
Introduction
The sun is slowly disappearing behind the Dutch horizon. A gentle breeze rolls across the fields, carrying the scent of freshly planted tulips. In the distance, hundreds of windmills stand like silent guardians over the polders. Then, slowly, one of them begins to turn.
Wooden gears click into motion. Water starts flowing. The fields come alive.
You reach for the floodgate.
Open it, and your windmill turns faster, but the water level rises. Close it, and everything slows down, giving you more control. Somewhere between the rushing water, rotating gears and blooming tulips lies your path to victory.
Let’s get in on the table
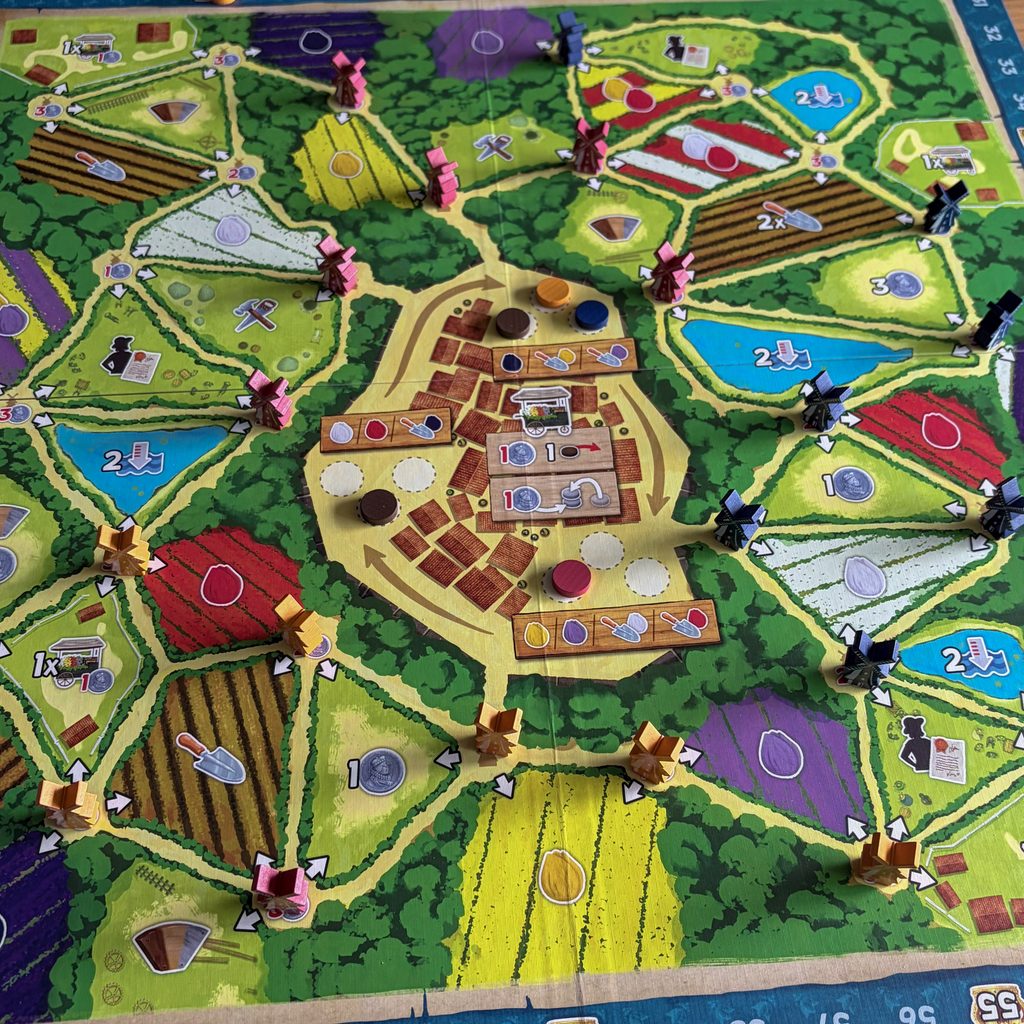
Start by placing the Main Board in the centre of the table. Place the Tulip Bulbs, Tool tokens and “X” tiles nearby so that everyone can easily reach them. Separate the Wheel Enhancement tiles into their three types — Common, Uncommon and Unique — shuffle each type separately, and place them next to the Main Board. Draw two Common Enhancements, one Uncommon Enhancement and one Unique Enhancement and place them in their designated spaces on the Main Board.
Next, shuffle the Farm Enhancement cards and create a face-down deck. Draw three cards and place them face up in the appropriate spaces on the Main Board. Place the Floodgate marker and Water Level marker on the lowest-numbered spaces of their respective tracks. Shuffle the Foreign Trade cards and place them face up in their designated stack on the Main Board.
Now each player needs their own equipment. Give every player one Farm Board, one randomly chosen Windmill Board, one player aid, one Tool token, nine Windmill tokens in their chosen colour and five Player markers. The Windmill Board should be assembled before the first game using the included plastic pins.
Each player places one of their large Player markers on space 5 of the Victory Point track and another on the starting space of the Calendar track. Their small Guilder marker goes onto the Guilder track on their Farm Board. The starting position depends on player order: the first player starts on the fourth position, the second player on the fifth, the third player on the sixth and the fourth player on the seventh. Keep the remaining small Player marker nearby for later use with the Queen’s Wish.
The next step is choosing a Starting Farm Enhancement. Take a number of Starting Farm Enhancement cards equal to the number of players plus one and place them face up with their Ability side showing. Starting with the last player and working backwards, each player chooses one card and places it in the top-left slot of their Farm Board, with the ability visible. The remaining card becomes the Queen’s Wish: place it next to the Calendar on the Main Board and flip it to its Queen’s Wish side.
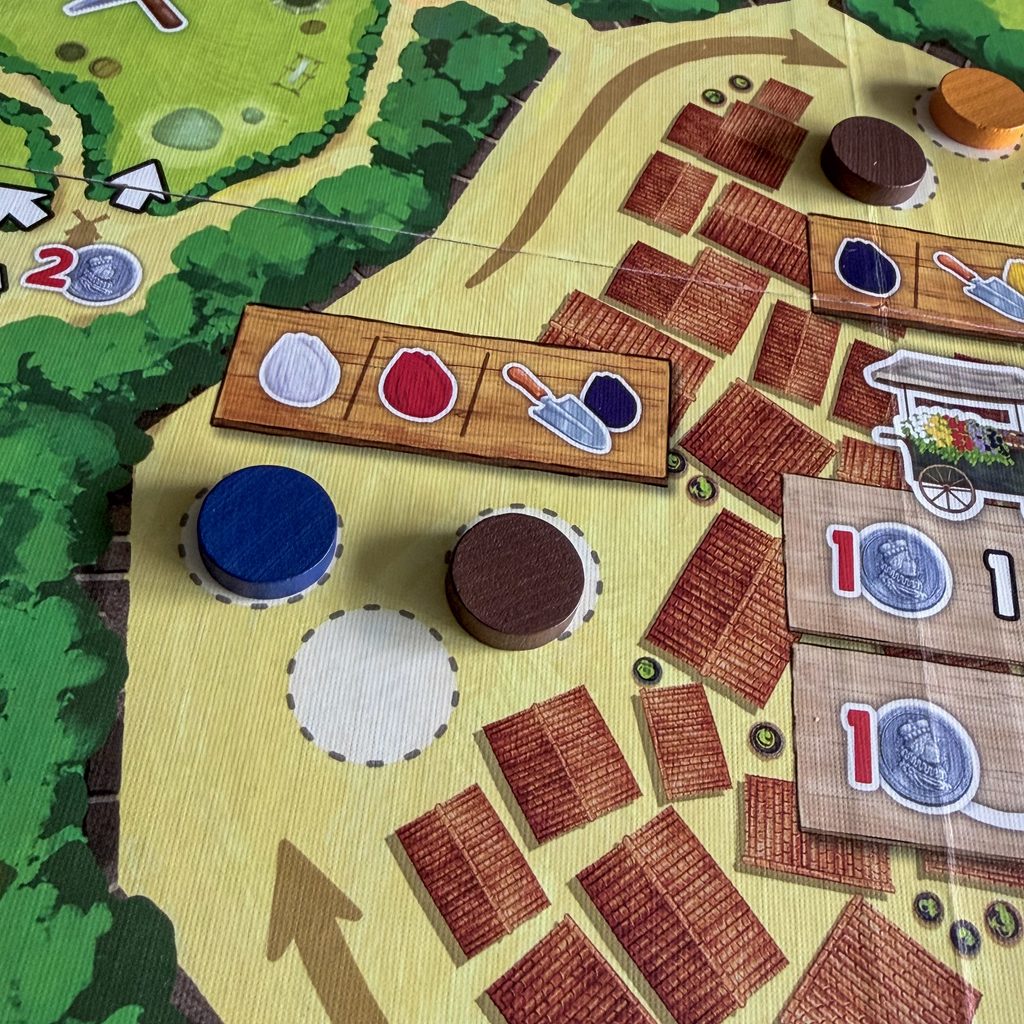
Players then place one of their Player markers in an available area of the Market, working in reverse turn order. The game also uses Neutral markers, and the number and placement depends on the number of players. In a two-player game, place one Neutral marker in each of the three Market areas. In a three-player game, place one in each of the two areas without the first player’s marker. In a four-player game, place one in the next area anti-clockwise from the first player’s marker. Any unused Neutral markers are returned to the box.
Now give each player their starting Tulip Bulb. The first player receives a white bulb, the second a yellow bulb, the third a red bulb and the fourth a violet bulb. These go into the player’s Storage on their Farm Board.
Finally, each player takes their nine Windmill tokens and organises them into the five groups shown on their Farm Board. From top to bottom, the groups contain one, one, two, two and three Windmills. This determines the order in which the Windmills can be built during the game.
If you are playing with fewer than four players, cover the appropriate part of the Calendar with the Calendar Limit tile, leaving the final column uncovered. This adjusts the Calendar to the number of players at the table.
Once all of that is done, everyone should have their Farm Board, Windmill Board, starting Enhancement, starting Tulip Bulb, Tool, Windmills and Player markers in place. The Main Board should have its Enhancement tiles, Farm Enhancement cards, Foreign Trade deck, Floodgate and Water Level markers ready.
The last person who bought flowers becomes the first player, and turn order proceeds clockwise.
At this point, your windmills are ready, the tulips are waiting to be planted, and the only thing left to do is open the floodgate and start turning those wheels.
You are ready to play Windmill Valley.
Let’s play
Windmill Valley is played over a series of turns, with players continuously taking turns clockwise until someone reaches the end of the Calendar track. That moment triggers the final stage of the game, but it does not immediately end the game. The current round is completed so that every player has had the same number of turns, followed by one final turn for each player. Only then does final scoring take place.
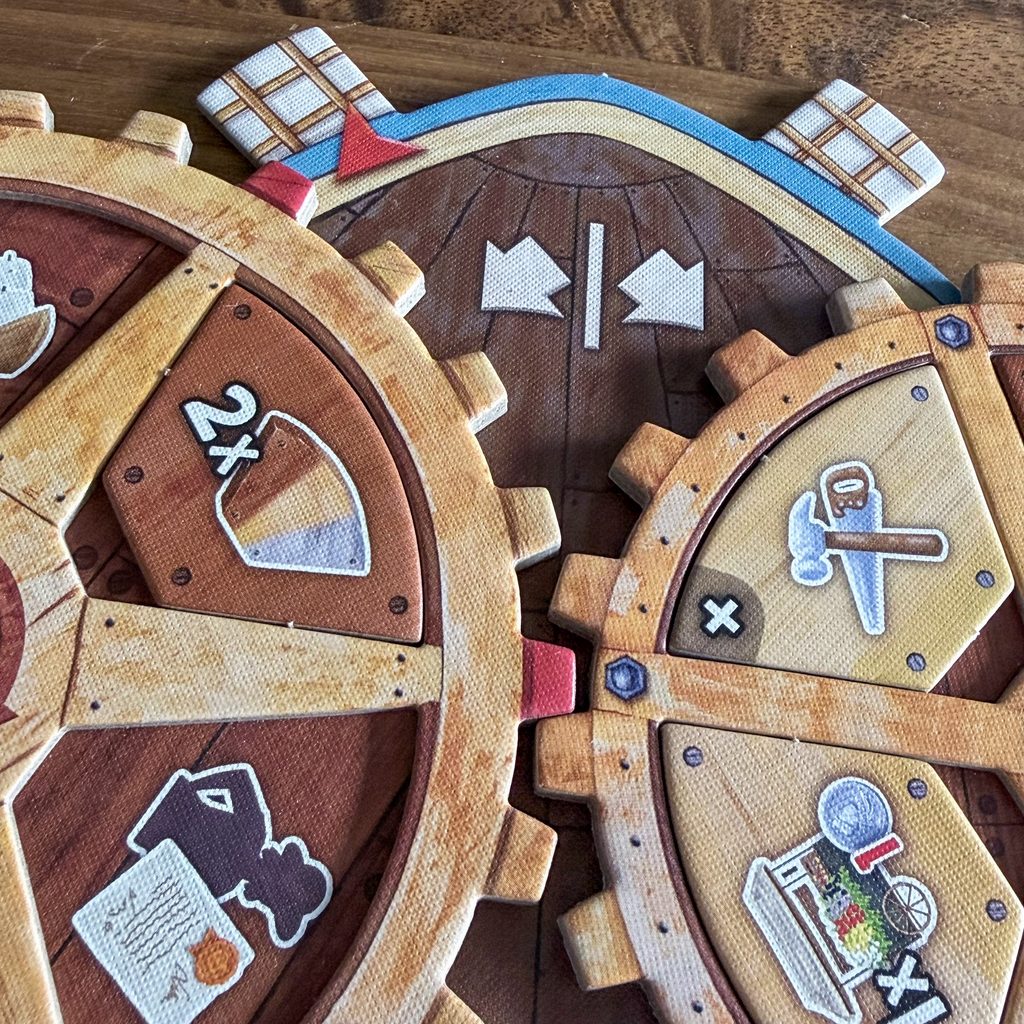
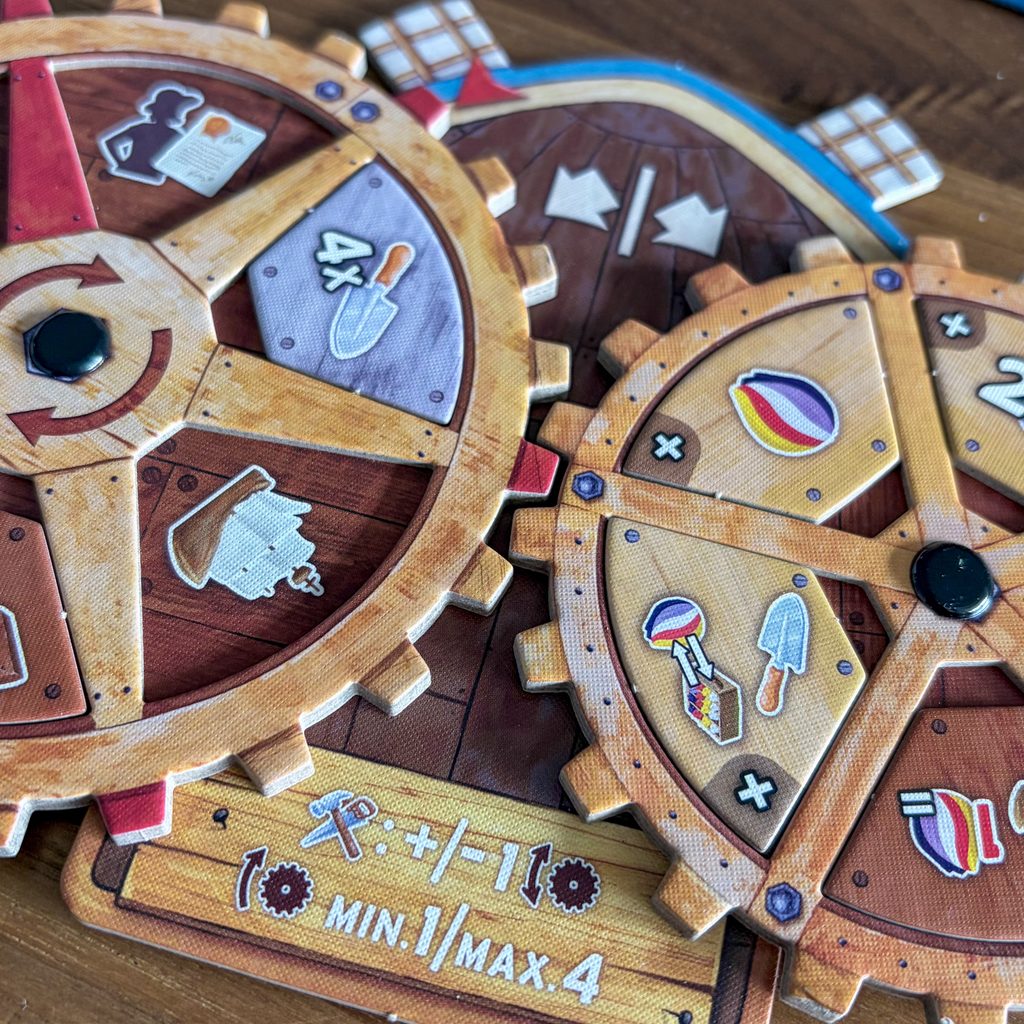
The central mechanism is your Windmill Board and its two interconnected Action Wheels. These wheels determine the actions available to you on your turn. At the beginning of the game, the wheels contain their basic actions, but throughout the game you can install Wheel Enhancements that replace these actions and gradually turn your windmill into a more powerful engine.
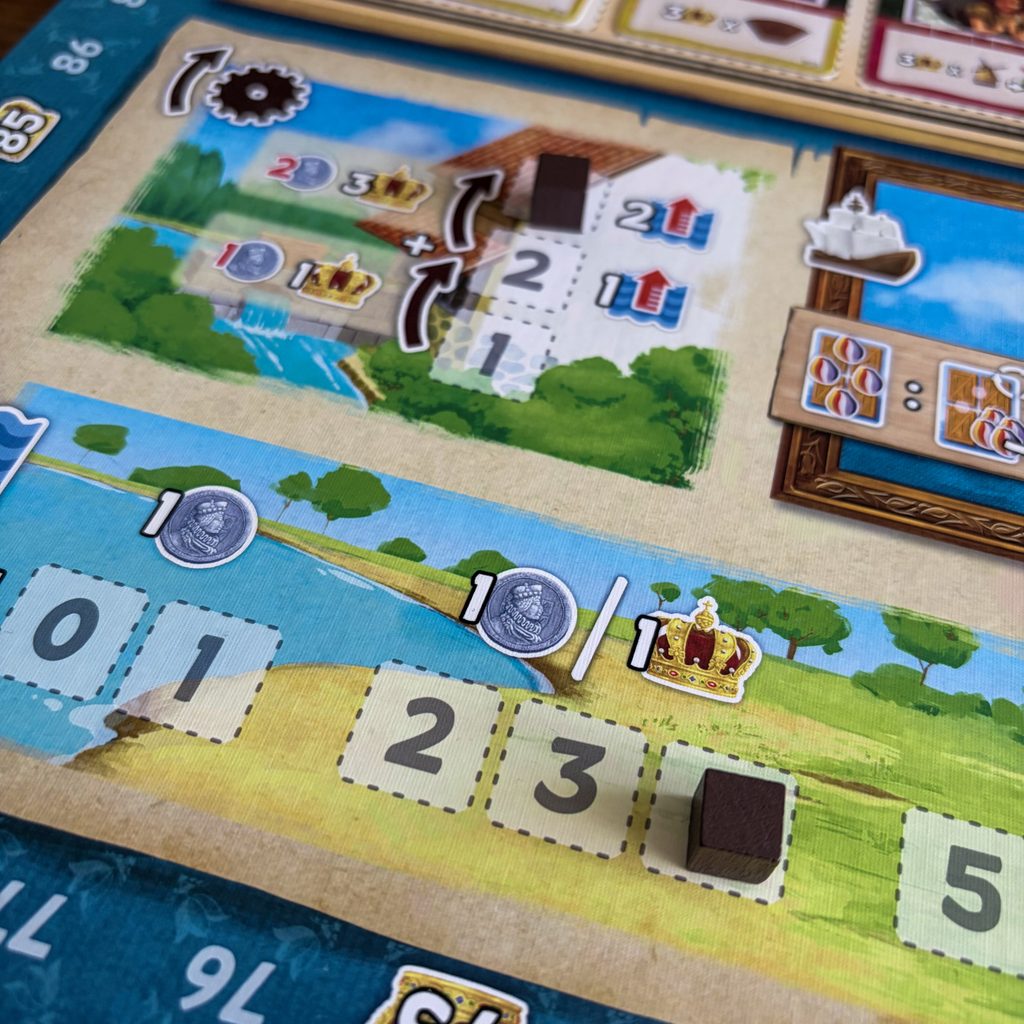
Before you perform your main action, you first have to decide how fast your windmill will turn. This is controlled by the Floodgate marker. At the beginning of your turn, you may leave the Floodgate where it is, close it to reduce the water speed, or open it to increase the water speed.
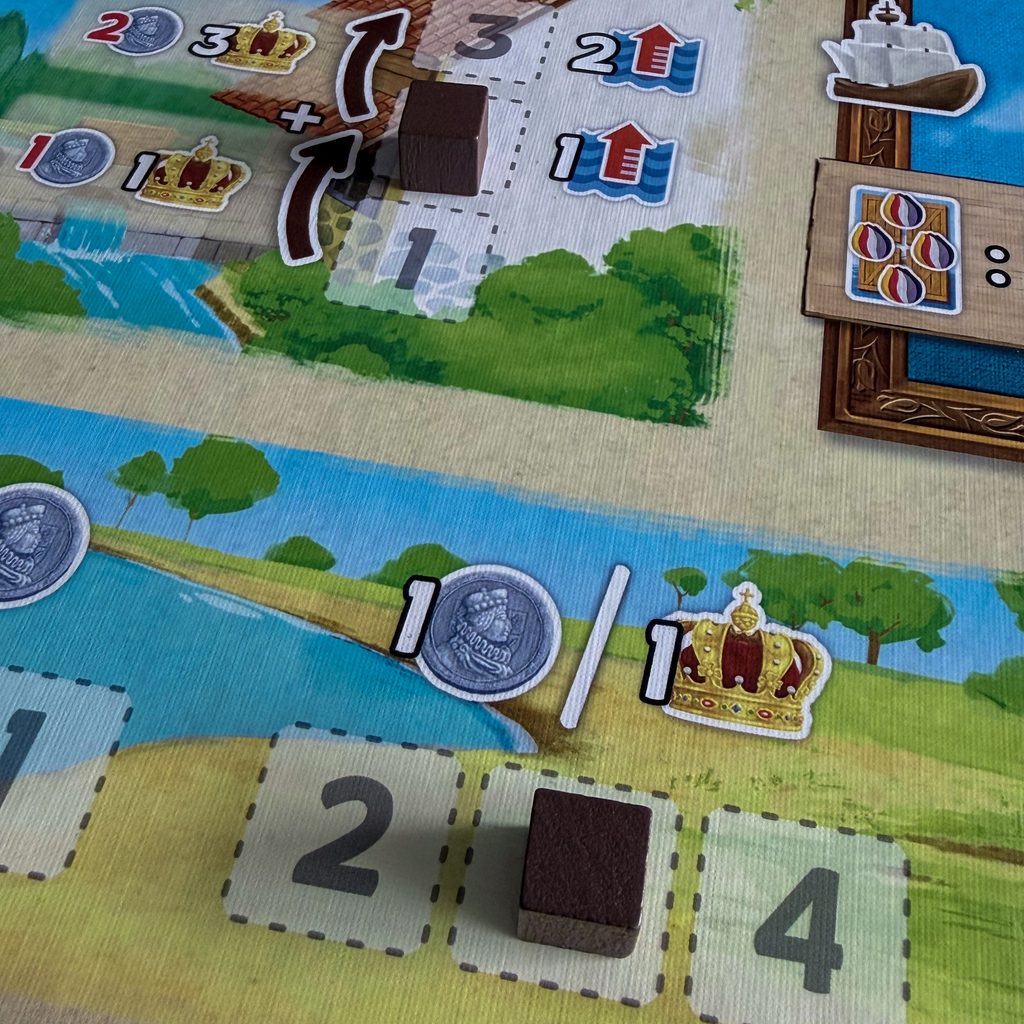
Opening the Floodgate costs Guilder, but it also immediately gives you Victory Points. Moving from speed 1 to speed 2 costs 1 Guilder and gives you 1 Victory Point. Moving from speed 2 to speed 3 costs another 2 Guilder and gives you 3 Victory Points. You may move up both steps in the same turn if you can afford the total cost of 3 Guilder, receiving 4 Victory Points. You can also close the Floodgate without paying anything, but you do not receive Victory Points for doing so. You cannot move the Floodgate both up and down during the same turn.
The Floodgate also controls the Water Level. At speed 1, the Water Level does not increase. At speed 2, it rises by one space, and at speed 3 it rises by two spaces. The Water Level can never move beyond the end of its track. If it is already at its maximum at the beginning of your turn, you must reduce the water speed to 1. This creates an important balancing act: faster wheels give you more movement, but they also push the Water Level towards its limit.
Once the Floodgate has been adjusted and the Water Level has been changed, you rotate both Action Wheels by the number of spaces indicated by the current water speed. The Large Wheel always moves clockwise, and because the two wheels are connected, the Small Wheel moves the same number of spaces.
You can use Tool tokens to modify this movement. Each Tool allows you to increase or decrease the number of spaces moved by one. The Floodgate itself does not change when you use Tools, so they provide additional flexibility without affecting the Water Level. You must always move at least one space and can never move more than four spaces in total.
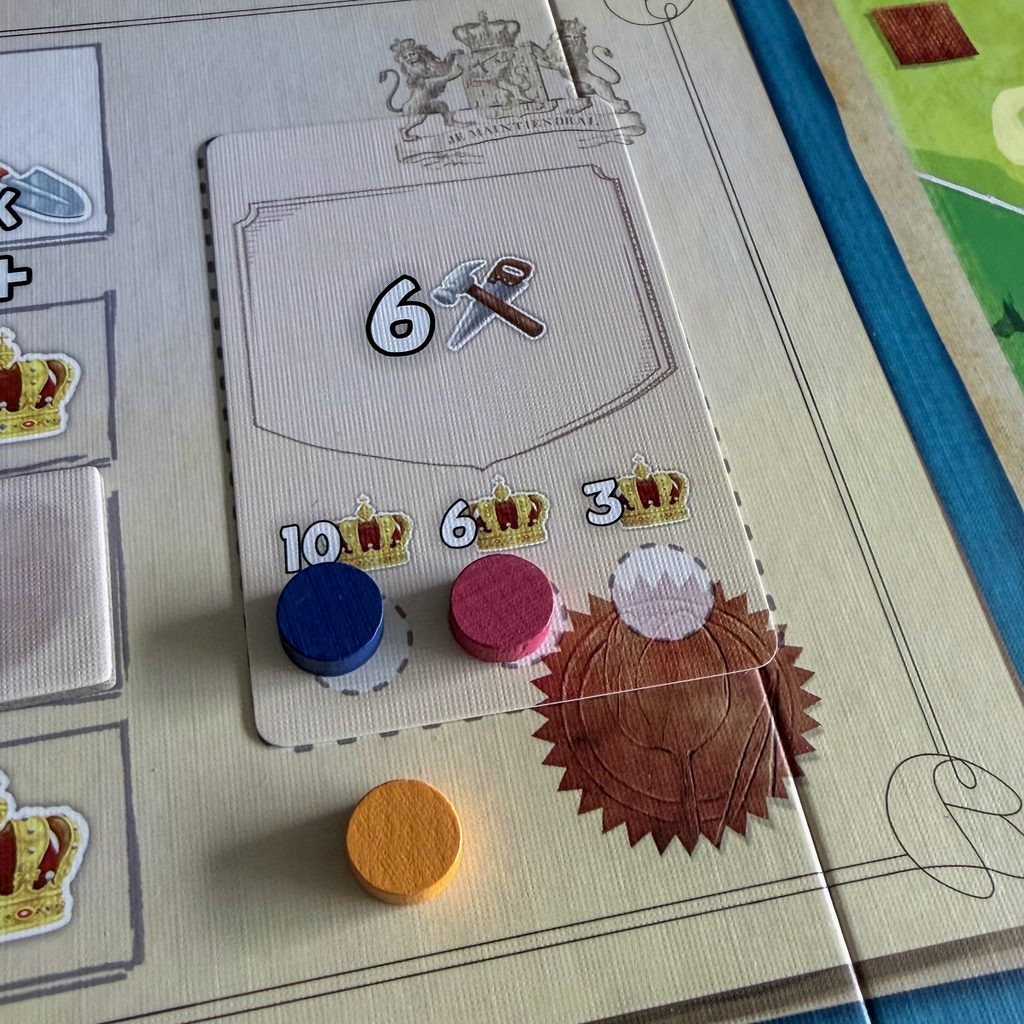
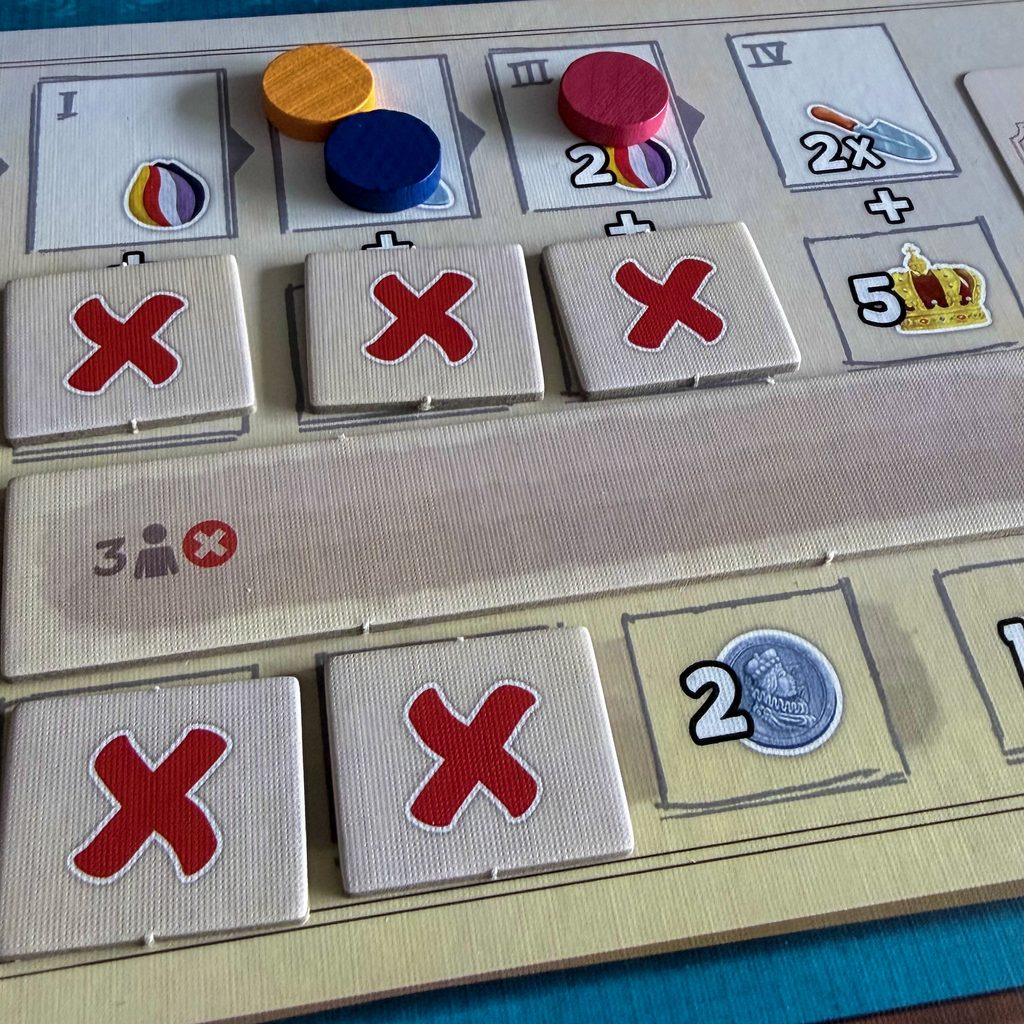
As your Large Wheel completes a full rotation, its red spoke aligns with or crosses the red arrow on your Windmill Board. Whenever this happens, you advance one space on the Calendar track. You then receive the common reward shown on that Calendar space and may choose one of the available unique rewards, placing an X tile over the chosen reward once it has been taken. Some rewards depend on the number of players. Reaching the final Calendar space is what ultimately triggers the end of the game.
After the wheels have moved, you look at the two actions currently positioned in the active spaces above the interlocking gears. Normally, you choose one of these actions and perform it. However, if one of the actions has the appropriate symbol, you may perform both actions, in either order. If you cannot perform any available action, you simply gain 2 Guilder and end your turn.
The first action you can encounter is Lower the Water Level. This action lets you gain Guilder and/or Victory Points before reducing the Water Level. The strength of the action determines how many spaces the Water Level is lowered and how much of a reward you receive.
If the Water Level is in the highest section, each point of action strength gives you a choice between 2 Guilder or 2 Victory Points. In the middle section, each point gives you a choice between 1 Guilder or 1 Victory Point. In the lowest section, each point gives you 1 Guilder. After taking the rewards, move the Water Level to the left by the action’s strength. It can never go below zero.
This action is therefore particularly important when you have been running your windmill at high speed. You can deliberately allow the Water Level to rise and then use a strong Lower the Water Level action to turn that rising water into resources or points.
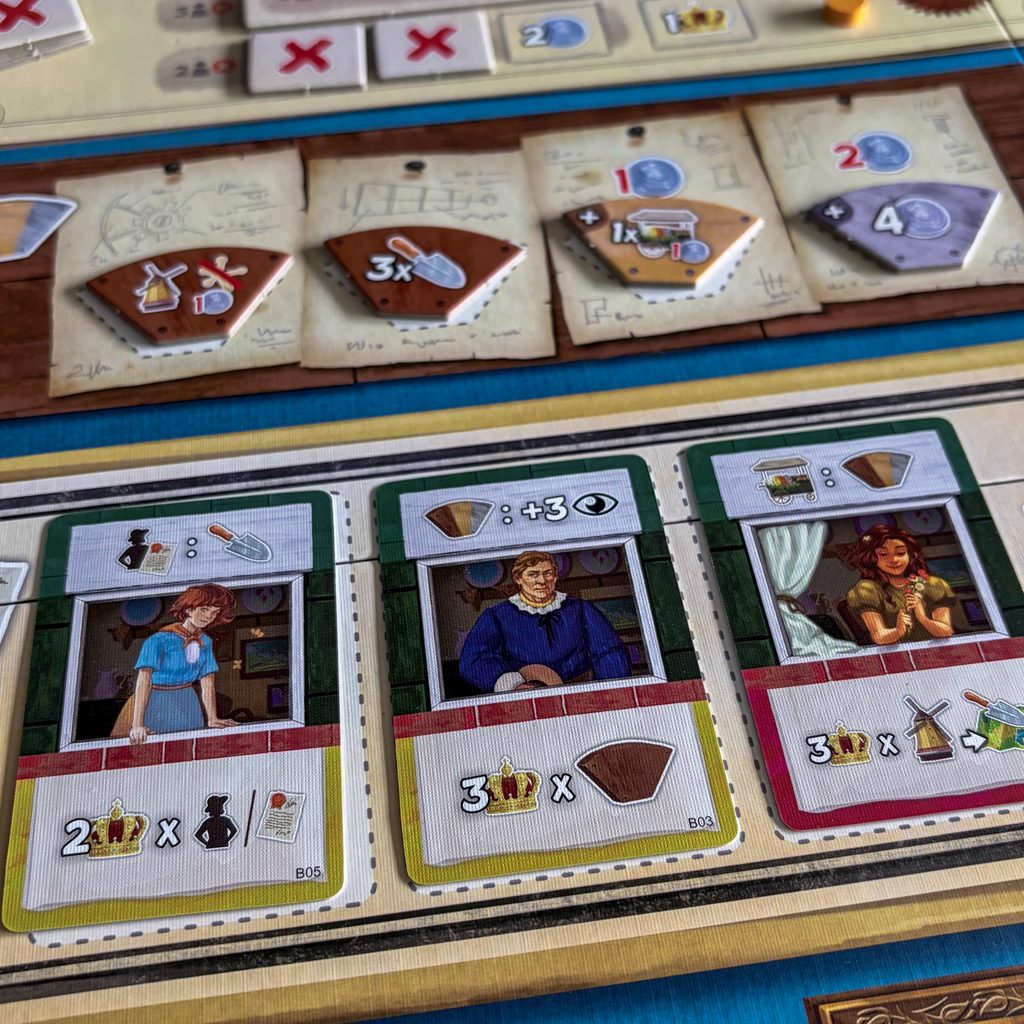
Enhance the Wheels allows you to improve your personal Action Wheels. You choose one of the Wheel Enhancements currently available on the Main Board and install it onto an action space on either wheel. Common Enhancements are free, Uncommon Enhancements cost 1 Guilder and Unique Enhancements cost 2 Guilder. Once installed, the Enhancement replaces the previous action on that space. You cannot install an Enhancement into a space that is currently active during your turn.
After taking an Enhancement, immediately refill the empty space on the Main Board with another Enhancement of the appropriate type. Before choosing an Enhancement, you may also spend 1 Guilder to discard all currently displayed Enhancements and replace them with four new ones.
Enhancements are one of the main ways your engine develops during the game. Some allow you to plant more Tulips, some give you extra Guilder, some improve Foreign Trade, while others allow you to perform another action or combine the actions of both wheels. Choosing the right Enhancement for the position of your wheels can therefore be more important than simply choosing the strongest-looking tile.
The Gain a Farm Enhancement action allows you to take one of the three face-up Farm Enhancement cards on the Main Board.
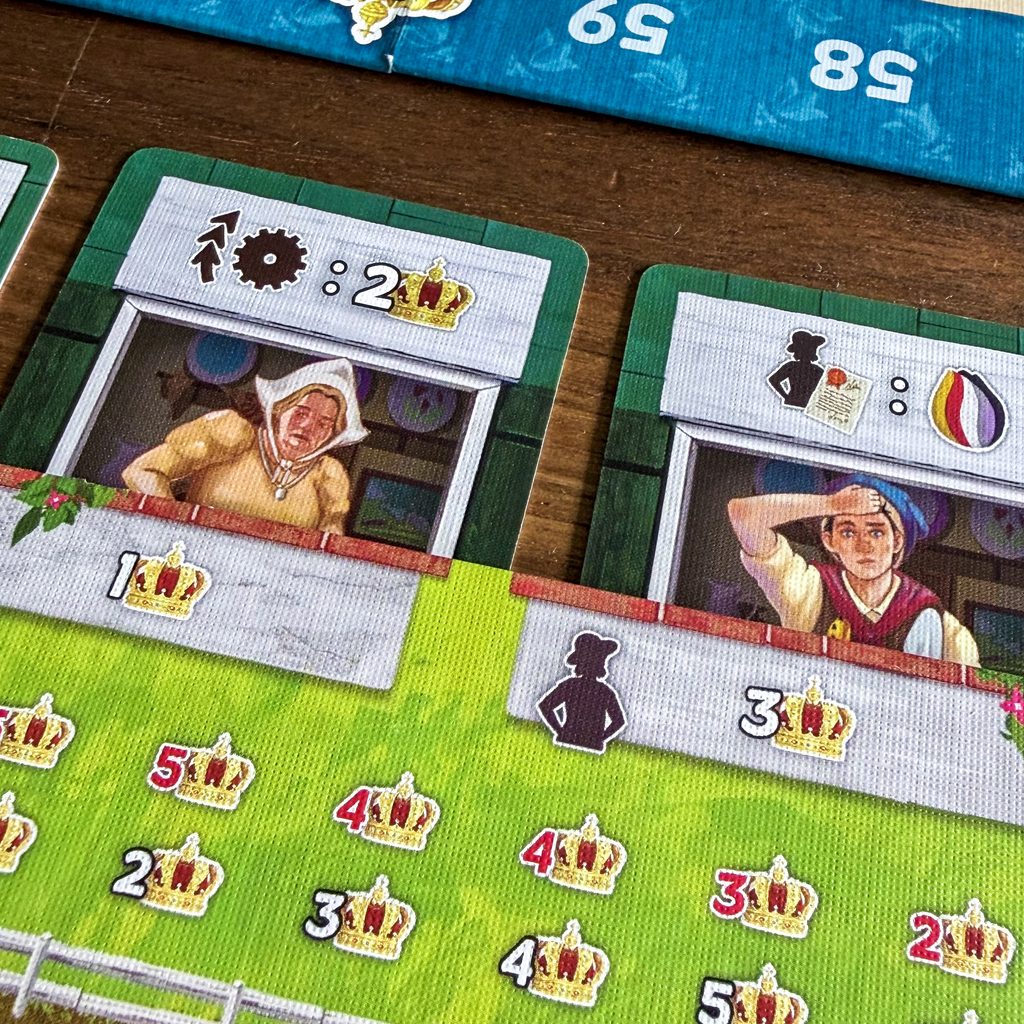
When you take one, you must decide whether it becomes a Helper or a Contract. A Helper is placed in one of the three spaces along the top of your Farm Board. Its ability becomes available immediately and can then be used once per turn for the rest of the game. You also immediately receive the Victory Points printed on the Helper space you filled.
Alternatively, you can place the card as a Contract in one of the three Contract spaces along the bottom of your Farm Board. Contracts provide special end-game scoring conditions. They are personal to you and can reward particular windmill positions, Tulip colours, patterns or other achievements.
If all three Helper or Contract spaces are occupied, you may replace an existing card of that type. However, replacing a Helper does not give you the Victory Point bonus from the space again.
Before taking a Farm Enhancement, you may spend 1 Guilder to discard all three available cards and replace them with three new ones. This gives you some control when the current selection does not fit your strategy.
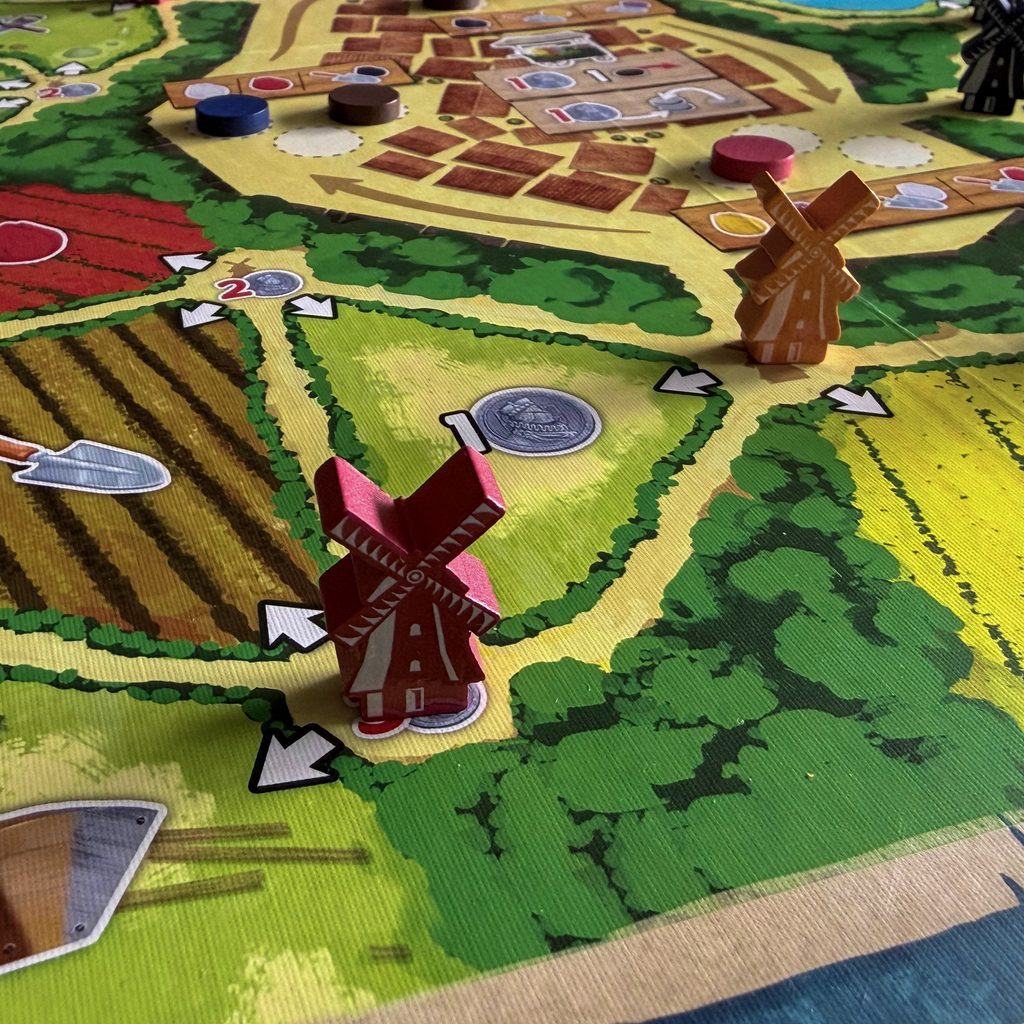
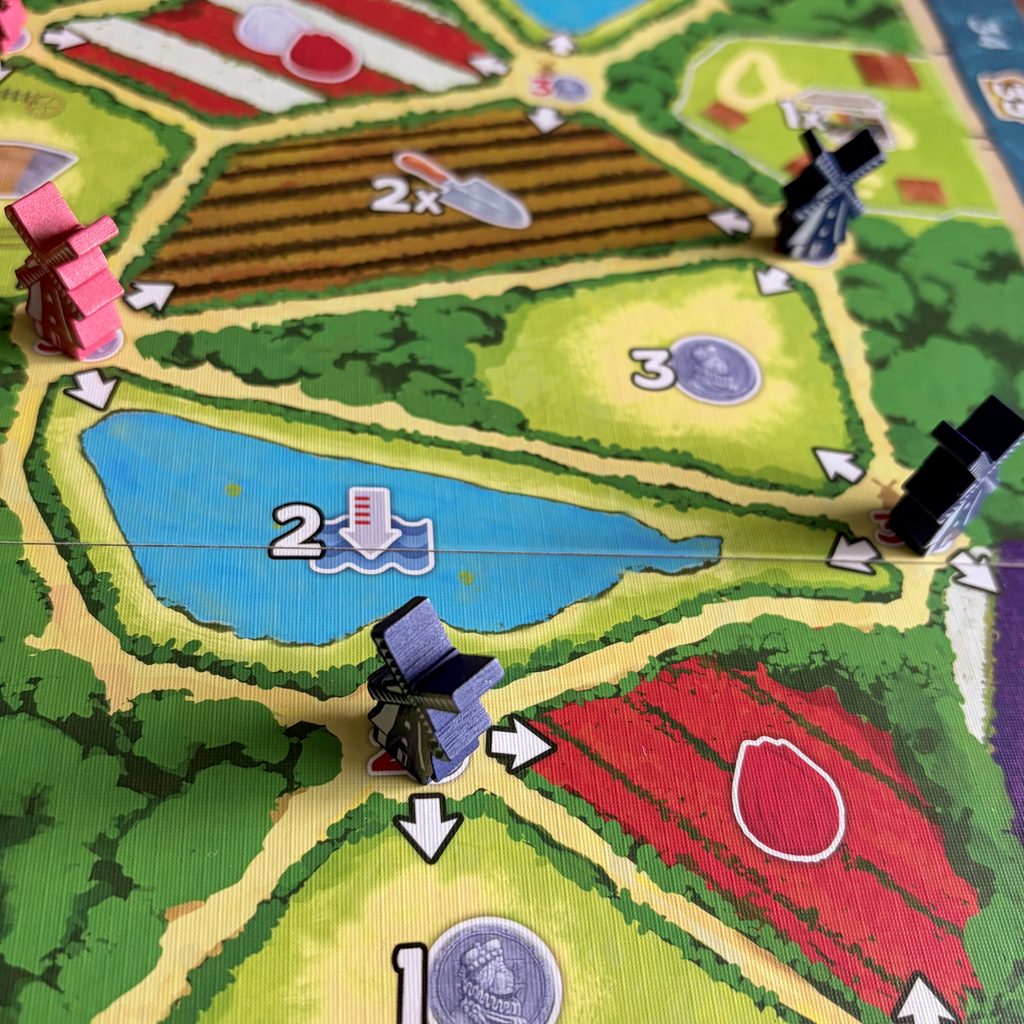
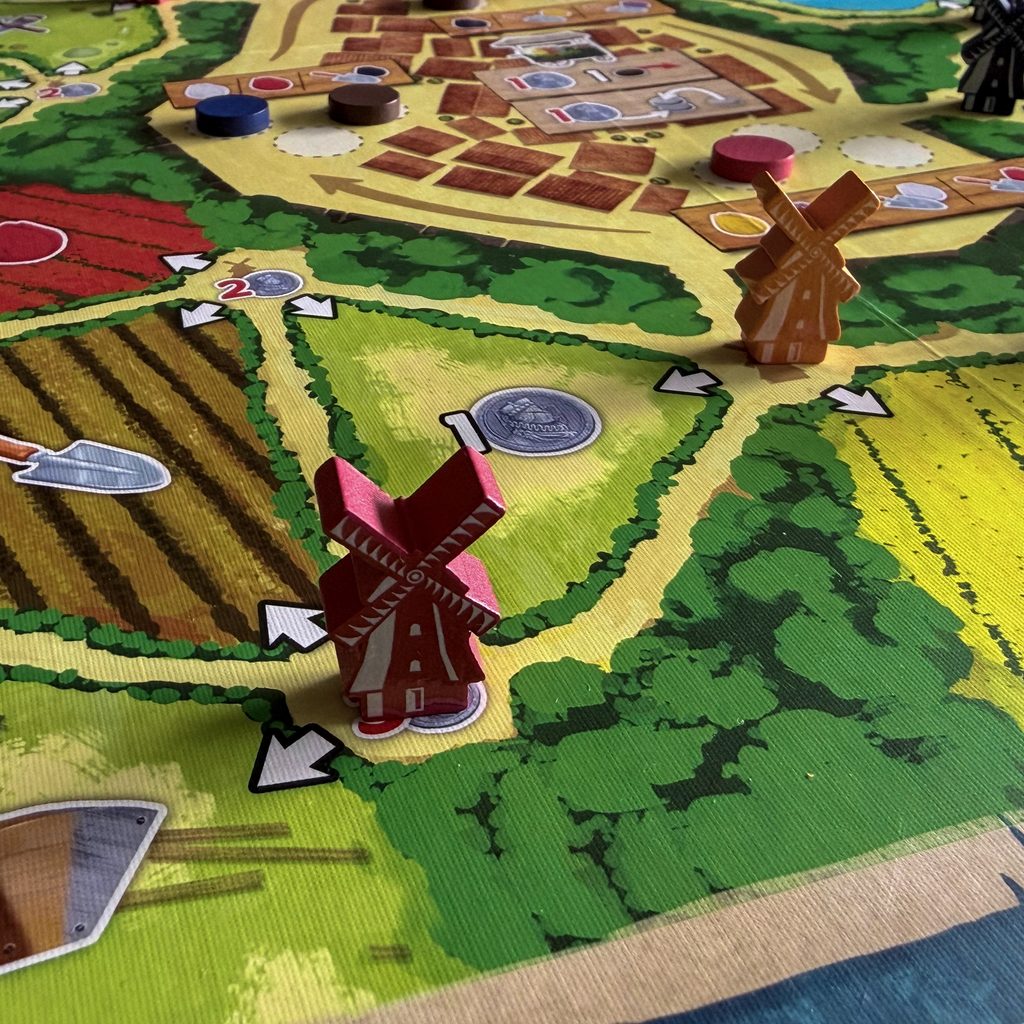
Build a Windmill lets you take one of the Windmills from your Farm Board and place it onto the Main Board.
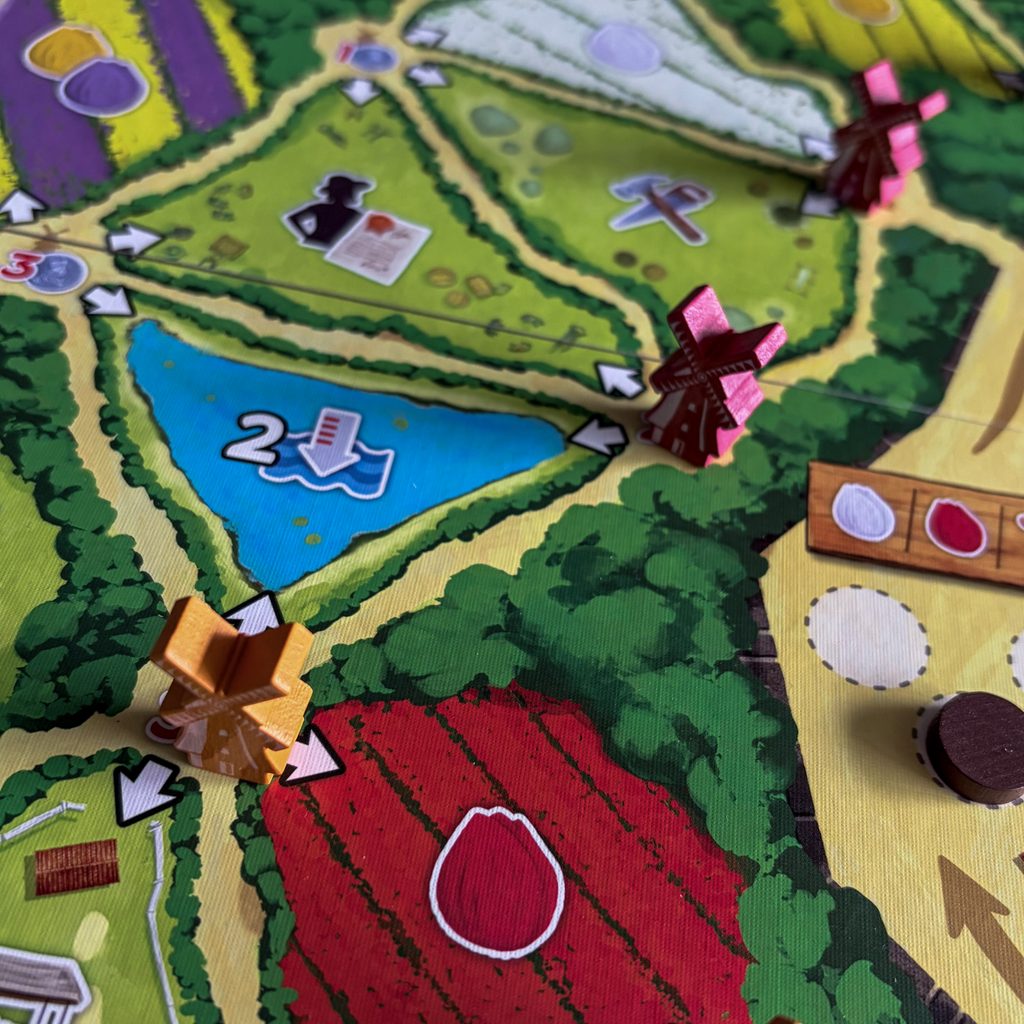
The Windmills begin in five groups containing one, one, two, two and three Windmills. When you empty one of these groups, it will later contribute to your final scoring based on the colour of Tulips you have planted.
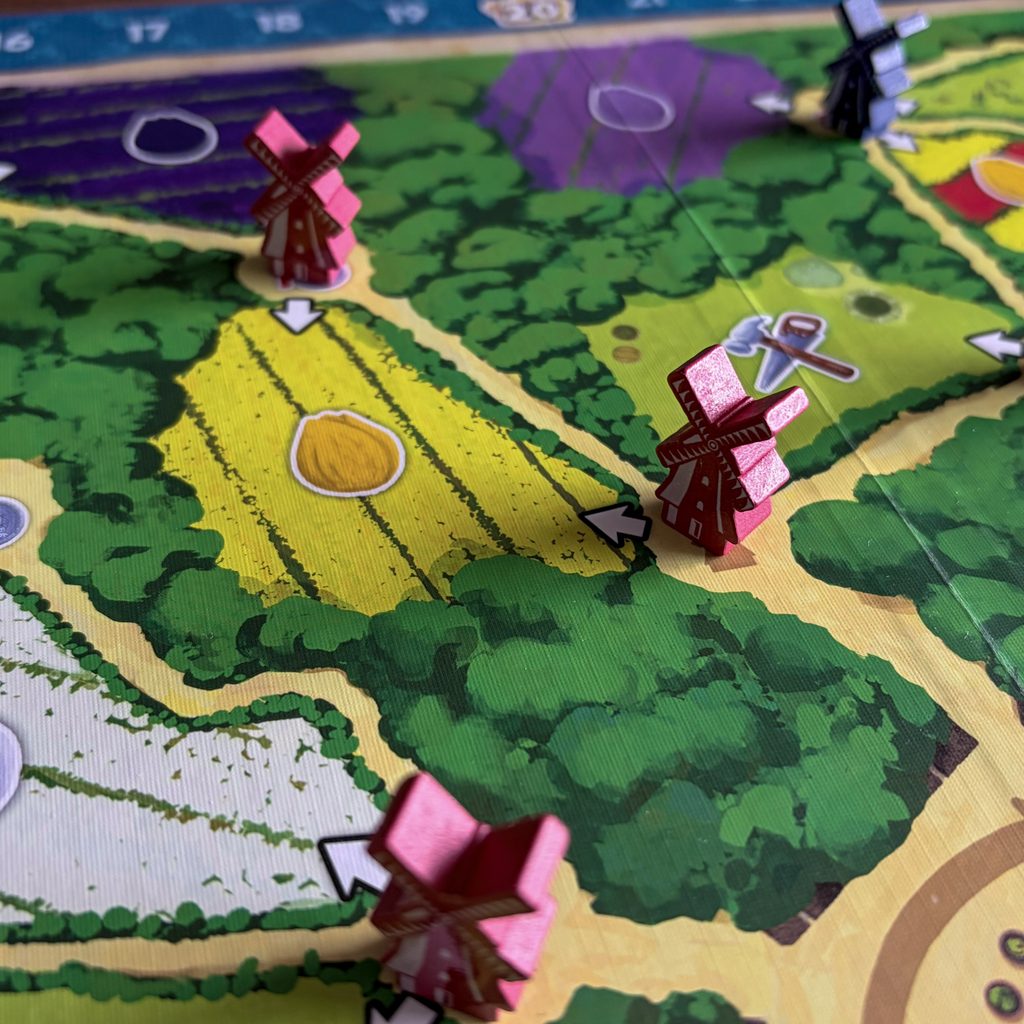
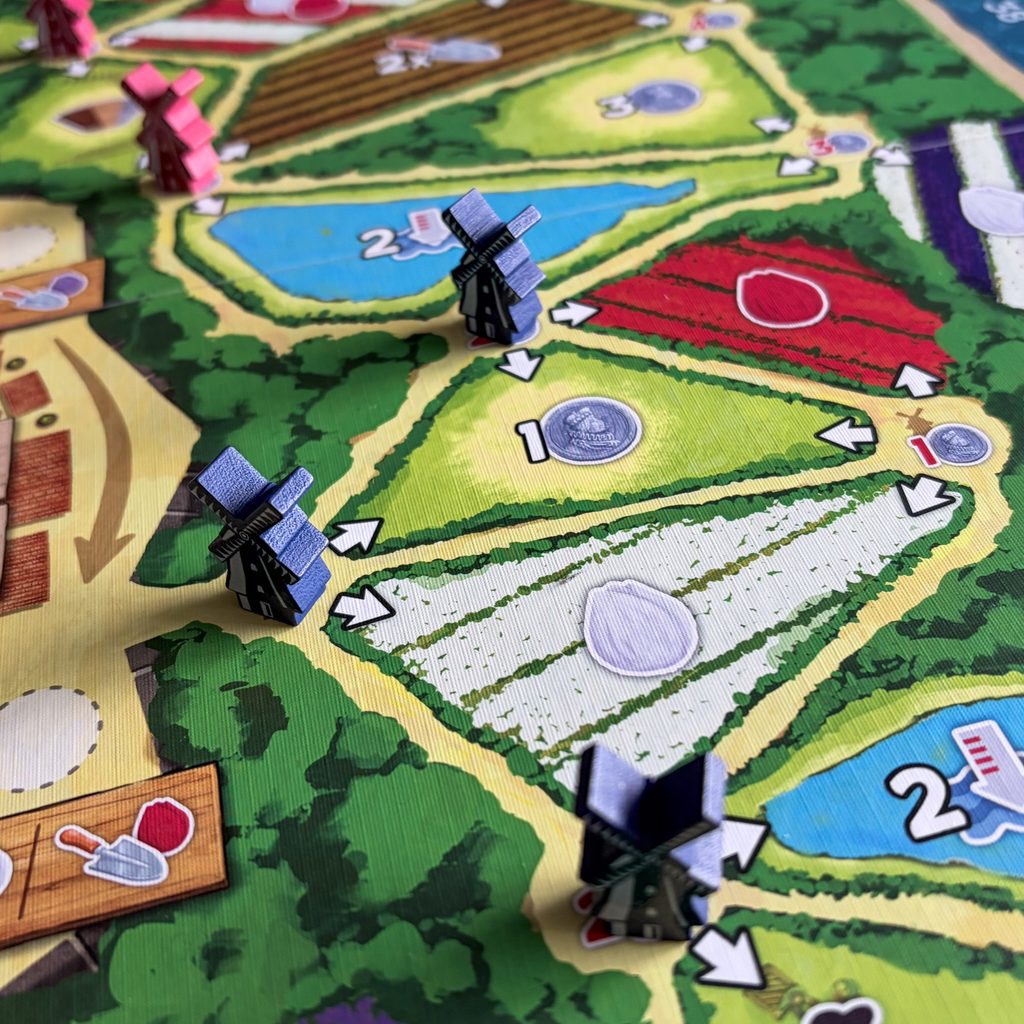
To build a Windmill, you must pay the Guilder cost printed on the space you want to occupy. You also normally need to connect the new Windmill to the Market through an uninterrupted path of Windmills.
After placing your Windmill, trace the shortest path back to the Market. If that path passes through another player’s Windmill, that player receives 1 Victory Point. You do not receive points for passing through your own Windmills. Once your Windmill has been placed, you immediately receive the rewards from the Fields adjacent to it.
Some Wheel Enhancements allow you to build a Windmill without connecting it to the Market. These Windmills do not create a new path of their own, meaning that other Windmills cannot build from them unless a continuous connection to the Market is eventually established.
Building Windmills is therefore both an economic decision and a spatial one. Where you place them can determine which Fields you benefit from, how easily you can expand later and which Contracts you can score.
The Visit the Market action allows you to move your Player marker clockwise around the Market.
The action has a Guilder cost and a movement value. For every movement, you move your marker one space clockwise and choose one of the rewards in the Market area next to your marker. If other Player markers are present in that same area, you can receive the same reward again for each other marker there, up to the game’s maximum of three rewards.
Before moving, you may pay 1 Guilder to move a Neutral marker to an area that your own marker will visit during that action. This can deliberately increase the rewards you receive.
You may also pay 1 Guilder to another player to place your marker on top of theirs if an area is full. This gives you access to that Market area but does not increase the number of rewards available to you.
The Market is therefore not simply a place to collect resources. Watching where the other players are positioned can make certain Market spaces considerably more valuable.
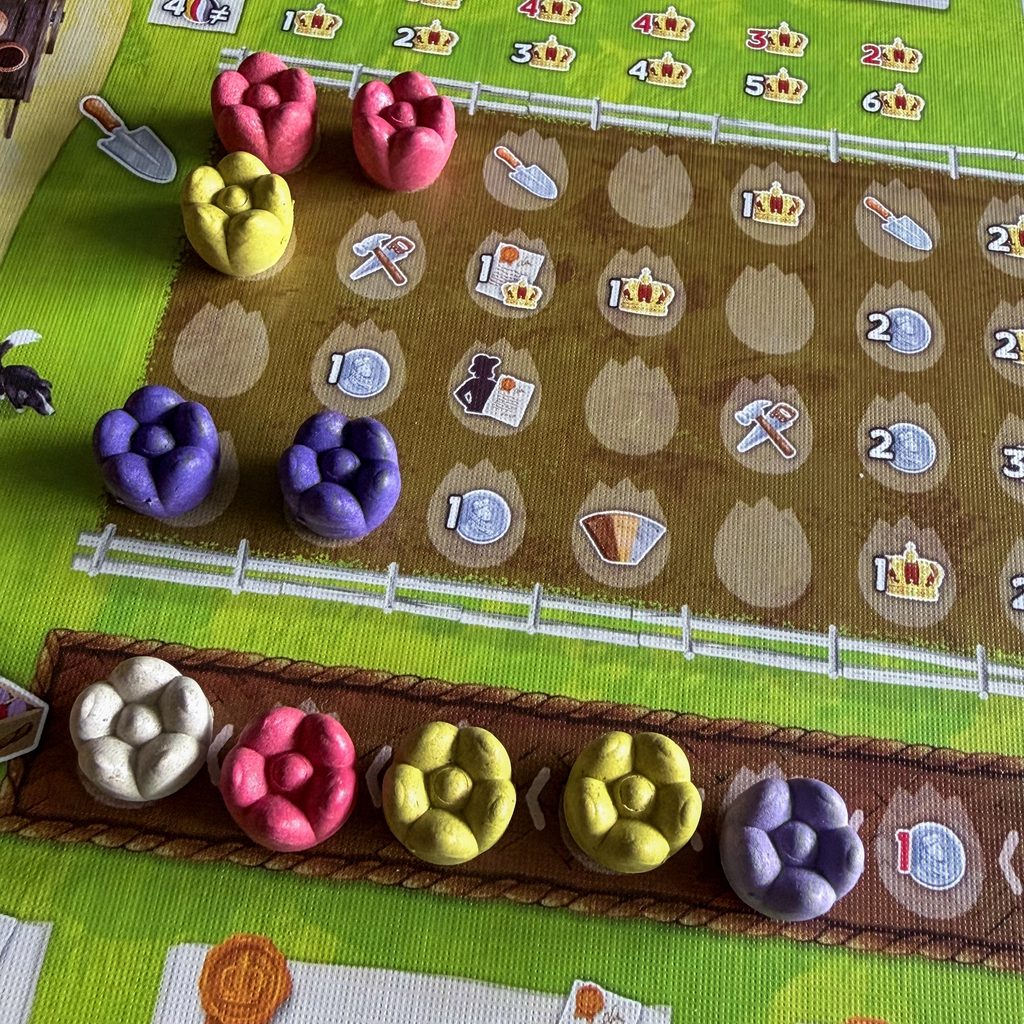
With Plant Tulip Bulbs, you take Tulip Bulbs from your Storage and place them into the Tulip Patches on your Farm Board.
Normally, the action allows you to plant the number of bulbs indicated by its strength. You place each bulb into the leftmost available Patch of any row. Some spaces provide an immediate reward when covered.
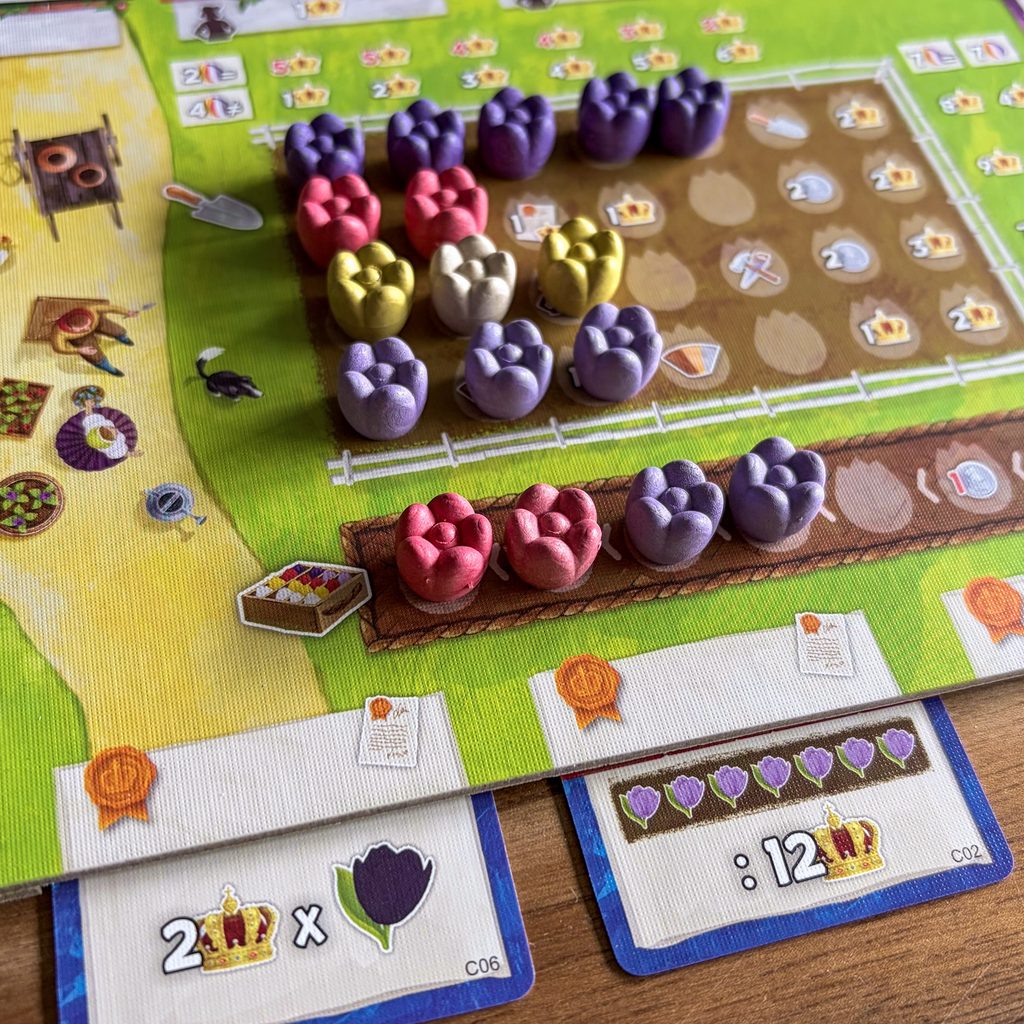
The placement decisions become particularly important during final scoring. Complete rows score more points when all of their Tulips are the same colour. Complete columns can score their printed Victory Point value when all Tulips in that column are different colours. If a column contains duplicate colours, it can instead cost you the indicated number of Victory Points.
This makes planting much more than simply filling spaces. You are effectively building a scoring puzzle on your Farm Board.
Conduct Foreign Trade allows you to use Tulip Bulbs from your Storage in international trade.
When you perform the action, you can place a Tulip Bulb onto the current Foreign Trade card, provided that colour is not already present. You then receive the rewards shown in the two sections adjacent to the bulb you placed.
Once four different Tulip Bulbs have been placed on the card, all of them are returned to the supply and the card moves to the bottom of the Foreign Trade deck.
Alternatively, when Tulip Bulbs are already on the Foreign Trade card, you can choose to collect them instead. You may return as many of the collected bulbs to your Storage as you wish and send the rest back to the supply.
Foreign Trade is therefore another way of turning your Tulips into useful resources while also giving you a reason to manage the colours in your Storage carefully.
As the game progresses, your Windmill Board becomes increasingly personalised. The Enhancements you install overwrite the basic actions and can introduce much stronger combinations. Some Enhancements allow you to perform another action from the other wheel, some increase the number of Tulips you can plant, and others give you additional Guilder, Victory Points or other actions.
This means that your strategy should evolve during the game. You might begin by concentrating on gathering Tulips, then transition into building Windmills, or perhaps focus heavily on Contracts and the specific scoring conditions they provide.
The important thing is that the wheels are always moving. You cannot simply choose any action you want at any time. You have to plan around where your wheels will be after their next movement, and sometimes you will deliberately change the speed or spend Tools to make sure the right action reaches the active position.
The Calendar is the game’s clock. Every time your Large Wheel completes a full rotation, you advance on the Calendar and collect the associated reward. Eventually, someone reaches the final Calendar space. At that moment, the end of the game is triggered.
The game does not stop immediately. The current round continues until every player has received the same number of turns. After that, every player receives one final turn. Once those final turns are complete, the game moves to final scoring.
This final phase is important because you know exactly when the game is approaching its end, but you do not necessarily control when another player will trigger it. You therefore need to balance developing your engine with converting that engine into points.
When the game ends, players score their Contracts first. Each Contract provides its own specific scoring condition, and these can become a major part of your final score.
Next, you score your empty Windmill groups. Each group you have emptied scores Victory Points for the corresponding Tulip colour in your Patches. White and yellow Tulips are worth 1 point each, red and violet Tulips are worth 2 points each, and black Tulips are worth 3 points each for each relevant empty Windmill group.
Finally, you score the completed rows and columns on your Farm Board. A complete row scores the higher printed value if all of its Tulips are the same colour; otherwise, it scores the lower value. Complete columns can score their printed value if all the Tulips in that column are different colours. If a column contains duplicate colours, you lose the indicated number of Victory Points instead.
Your final score is therefore the combination of your Contracts, your emptied Windmill groups and the patterns you created with your Tulip Patches. The player with the most Victory Points wins Windmill Valley.
Conclusie & eindscore
Difficulty: 3.09/ 5
Re-playability: 7
Our score: 8 out of 10 dice
Windmill Valley leaves you with a genuinely satisfying feeling. And that is probably what we enjoyed most about Windmill Valley. It combines familiar Euro mechanisms into a cohesive and, most importantly, enjoyable experience. The rotating wheels are the star of the show, constantly challenging you to position your actions effectively while deciding how quickly you want your windmill to turn. Combined with the customisable wheels, Contracts and Wheel Enhancements, the game gives you plenty of meaningful decisions without becoming overwhelmingly complex.
The tulip fields were another highlight for us. We really enjoyed having the freedom to decide how our Farm Board would develop. Do you focus on creating rows of the same colour? Try to make your columns contain different colours? Or simply take advantage of the immediate rewards available while planting? Because these decisions also contribute to your end-game score, the Farm Board feels like much more than a place to store resources. It becomes a small puzzle of its own.
That said, this is also an area where we think the game could have gone a little further. We would have loved to see more Farm Boards with different scoring opportunities or achievements. The existing Contracts and Wheel Enhancements already provide plenty of strategic variety, but additional Farm Board layouts could have made each game feel even more distinctive and increased the replayability.
Production-wise, Windmill Valley delivers the quality we have come to expect from Board & Dice. The boards, wooden pieces, cards and cardboard components are all excellent, while the colourful artwork fits the theme beautifully.
We did, however, have one small issue with the upgraded tulip pieces we bought for our copy: although they look fantastic, we would have preferred the colours to be slightly more distinct. When the farm starts filling up, stronger colour differences would make identifying the tulips at a glance much easier.
And then there is the elephant or perhaps the windmill in the box: the insert.
We actually waited to play Windmill Valley until we had received the Folded Space insert. Without it, you are looking at a box containing a lot of bags. 😂 Once the insert arrived, however, the whole experience became much more manageable. Everything has its own place, the player components can be organised neatly, and the trays can even be used during the game. For us, it was almost a must-have addition. The game already puts quite a lot on the table, and having everything organised makes both setup and cleanup considerably less intimidating.
Overall, Windmill Valley sits in a very comfortable place for us. It offers enough depth to keep experienced players interested while remaining approachable enough that you do not need to spend an entire evening explaining the rules before anyone gets to plant their first tulip. It is not the heaviest Euro out there, nor is it trying to be. Instead, it offers a colourful sandbox where you can experiment, build your own little engine and decide which parts of the system you want to exploit.
It is colourful, clever, beautifully produced and wonderfully thematic.
Just do yourself a favour and get an insert before you open the box.
Because otherwise…
it’s a box with a LOT of bags. 😂
Thanks to Board & Dice for this review copy and the opportunity to write about this game.