Summary
👥 A game for 1 to 5 players
⏳ Play time is 60 – 150 minutes
🏢 Publisher is Archona Games

Introduction
The world was once alive.
Cities thrived. Villages prospered. Roads connected people, trade, and hope.
Then… it came.
At first, it was only whispers.
A fever.
A cough.
A neighbour who never opened the door again.
But the sickness did not stop.
It spread through the villages.
It crawled along the roads.
And before anyone truly understood what was happening…the dead began to outnumber the living.
Now, the Empire of Thokaia is collapsing.
The infected are everywhere.
Entire locations have been destroyed.
And every road you travel may bring you closer to salvation…or straight into the heart of the Pest.
You are not a hero.
You are a Plague Doctor.
And in this world, hope is running out.
This…is PEST.

Let’s get in on the table
Before the battle against the Pest can begin, the world of Thokaia needs to be prepared.
Place the main Map board in the centre of the table, with the Era board nearby, and set the Year marker to Year One. Depending on the number of players, certain locations on the map will already begin in ruins, so place the Destroyed Location tokens on the matching spaces. Some locations will also start with Sick People, immediately reminding everyone that this is not exactly a peaceful day in the Empire.
Next, shuffle the Agenda cards and reveal three of them on the Era board. Do the same with the Imperative cards, placing three beneath the Agendas. These cards will shape the goals and ambitions of the game, giving players different opportunities to earn Renown and prove their loyalty to the Empire.
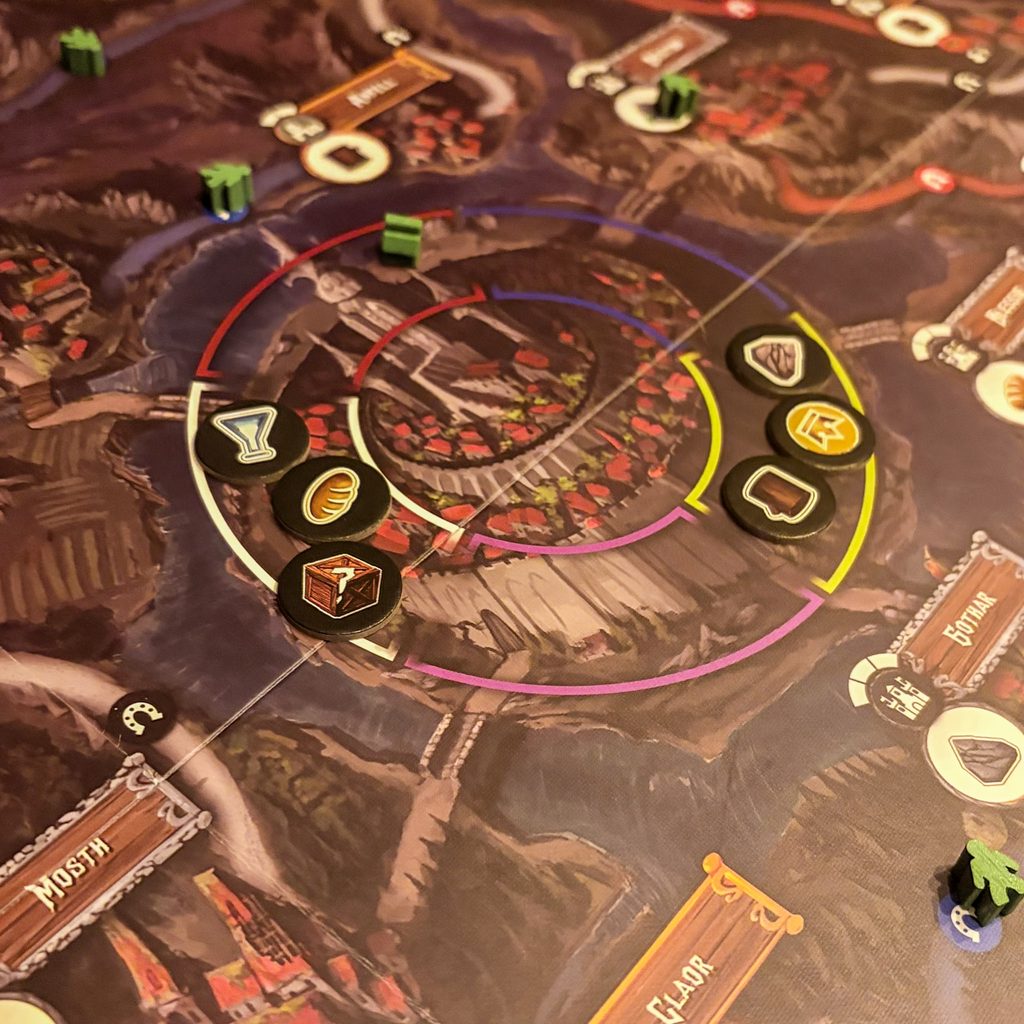
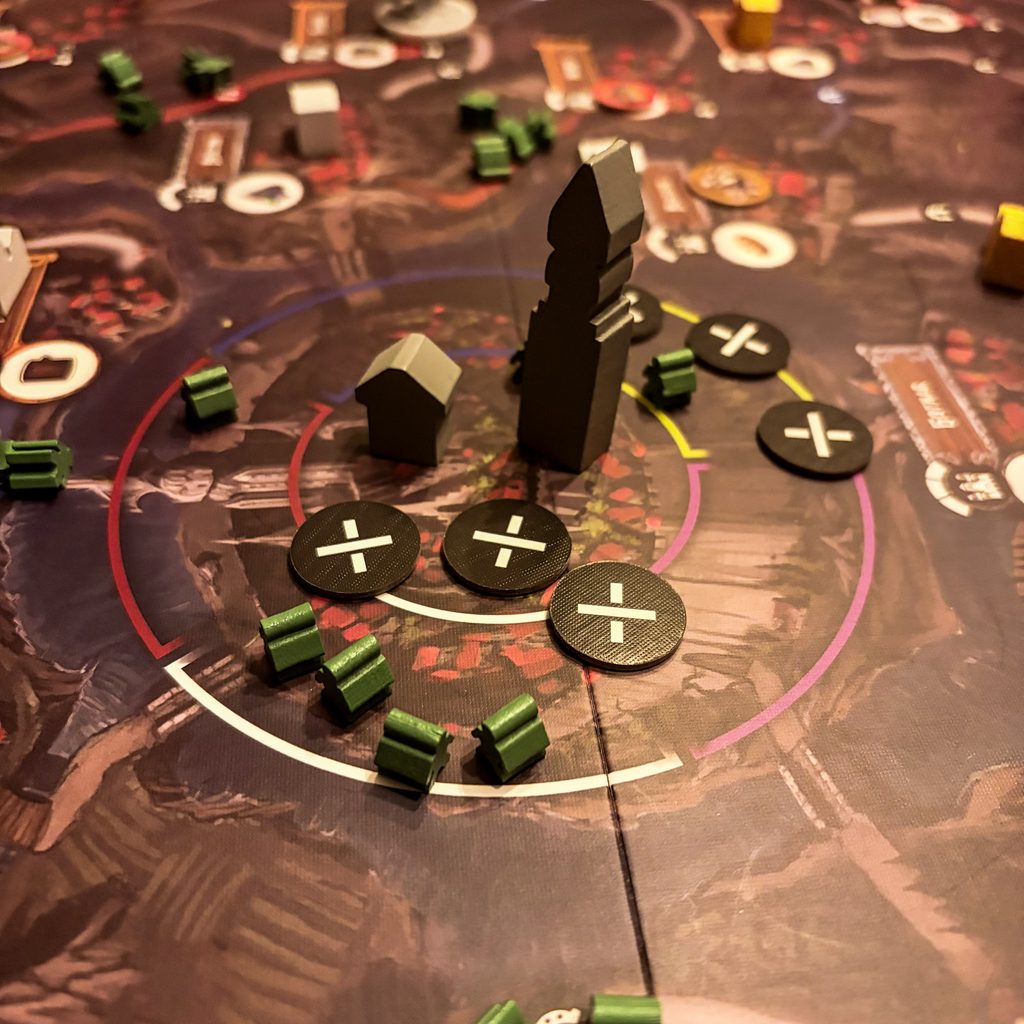
Shuffle the Capital City cards and reveal one in the designated space on the Map board. Then place the Capital City buildings in their corresponding locations and randomly select the correct number of Capital City tokens based on the player count.
For games with three or more players, shuffle the Pest and Aid decks and place them near the board. Then shuffle the Technology deck, reveal five cards to create the Technology market, and place the remaining deck nearby.
Now it is time for every player to prepare their own House.
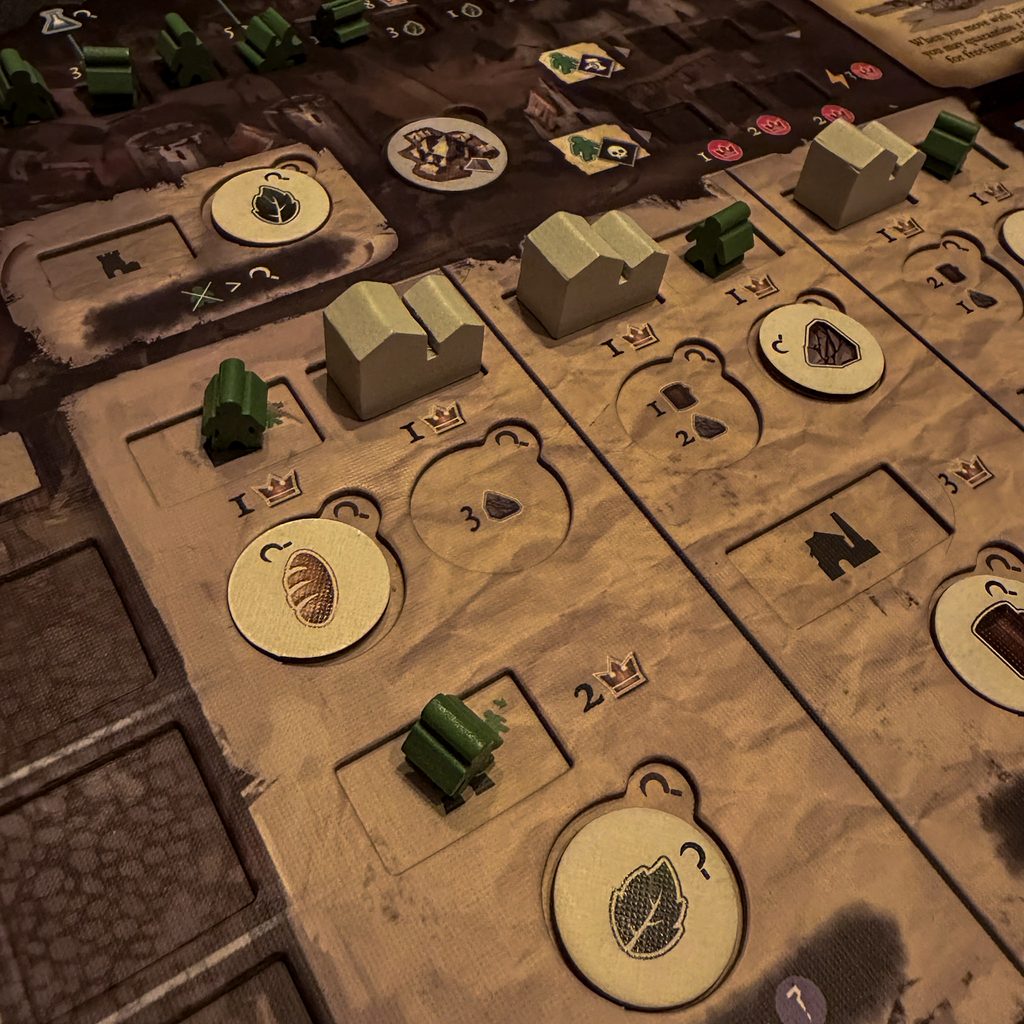
Each player chooses a colour, takes the matching Player board and all of the components in that colour, including their Plague Doctor, buildings, Assistants and markers. Their six Districts and three Special Buildings begin on the appropriate spaces of their Player board, while the Resource markers are placed on their starting values: one Lumber, one Stone, two Coins, two Food and two Herbs. Each player also receives a Research token.
Every player starts with two Assistants ready to use, while the remaining Assistants are placed on the Era board and will join the game later. The Containment Camp is placed on its designated space on the Player board, and each player places their Imperative marker on the starting space of the Loyalty track.
Everyone then receives a random Starting Location card. Following player order, players choose one of the three locations shown on their card and place their Castle there, as long as the location has not been destroyed. The resource produced by that location is then represented on the player board with the matching Building Production Resource token.
If the chosen Castle location already contains a Sick Person, that unfortunate citizen is immediately taken into the player’s Quarantine. Then, following player order, each player places their Plague Doctor on a location adjacent to their Castle. And if there is another Sick Person waiting there… well, they are coming with you too.
Finally, choose the First Player randomly, or, if you want to follow the game’s wonderfully grim sense of humour, give the First Player marker to the person who was sick most recently.
The board is ready. The Plague Doctors are standing by. The infected are already spreading across the land.
And now the fight against the Pest can begin!!
Let’s play
PEST is played over three Eras, with each Era lasting two Years. That means the entire game lasts six rounds, and every Year follows the same three-part structure: first the Pest and Aid Phase, then the Action Phase, and finally the Year End Phase.
And, unsurprisingly, things usually start getting worse before they get better.
At the beginning of every Year, a new Pest card is revealed.
This card determines where the disease spreads across the map. Sick People are placed on the locations and roads shown on the card, with the infection becoming even more dangerous as the game progresses. During the first Era, one Sick Person is added to each indicated location or road. During the second and third Eras, that number increases to two.
But simply placing Sick People on the board would be far too easy.
Whenever a location or road reaches four or more Sick People, the infection spreads into a full epidemic. The Sick People are removed from that location or road and the disease spreads to the connected locations. A location that suffers an outbreak can even become destroyed, making it impossible to produce resources or construct buildings there.
And this can create a chain reaction.
One outbreak can cause another location to become infected. That infection can trigger another outbreak. And suddenly, the carefully planned world you built is starting to collapse around you.
If Sick People appear on a location containing your buildings or your Plague Doctor, they must be dealt with immediately. Every player present at that location has to take the Sick People into their own Quarantine. So even when you think you are safe, the Pest has a way of knocking on your door.
After the Pest has done its worst, an Aid card is revealed.
Aid cards represent assistance sent by the Empire and offer players the opportunity to spend Influence during their turns in exchange for useful resources or Research tokens. And trust me, when the Pest is destroying your plans and your storage is running dry, even the smallest bit of help can feel like a miracle.
This is where the real game takes place.

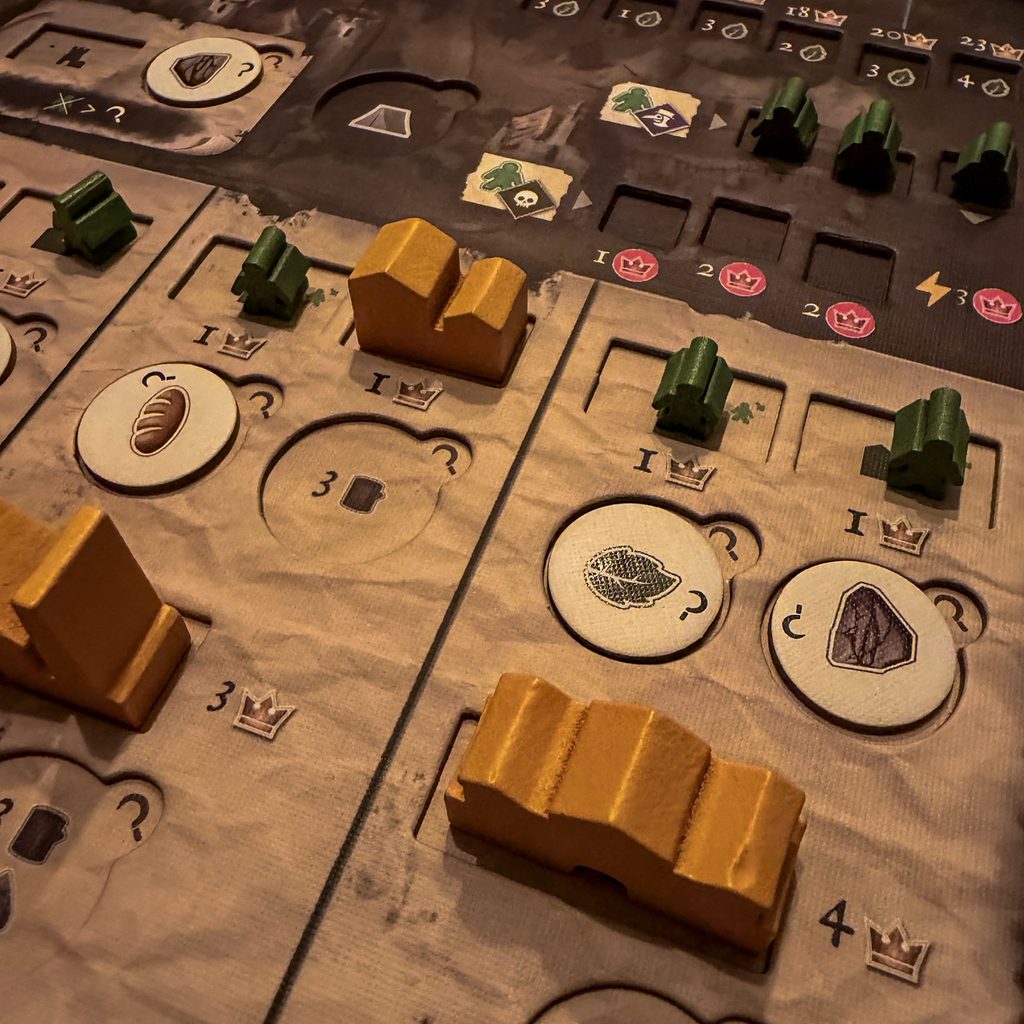
Each player has a number of Assistants, starting with two and gaining additional Assistants as the game progresses. On your turn, you place one Assistant onto an empty space on your Action Grid.
The clever part is that every position on the Action Grid allows you to perform a combination of two actions.
One action comes from the top row, while the other comes from the left column. This means that the placement of your Assistant determines exactly what combination of actions you can perform.
You can resolve the two actions in any order you like, and you are even allowed to skip one or both actions if you want to. However, every action you choose not to perform rewards you with one Influence.
You can also spend a Research token once per turn to enhance one of your top-row actions. An Enhanced action makes that action more powerful, which can be incredibly useful when your plans are falling apart.
Unfortunately, there is another problem.
Your Quarantine can become overcrowded.
Sick People normally enter your Main Quarantine, where they do not cause any negative effects. But once those spaces are full, additional Sick People must be placed in your Action Quarantine or Storage Quarantine.
A Sick Person placed in your Action Quarantine weakens the action directly beneath it. That action becomes Hindered, making it less effective.
A Sick Person placed in your Storage Quarantine reduces the amount of resources you can store.
And if your Quarantine is completely full, the Sick People start dying.
Dead People are placed in your Graveyard, where they can no longer be cured. If even the Graveyard fills up, additional deaths return to the supply and give you Infamy.
And Infamy is something you definitely do not want.
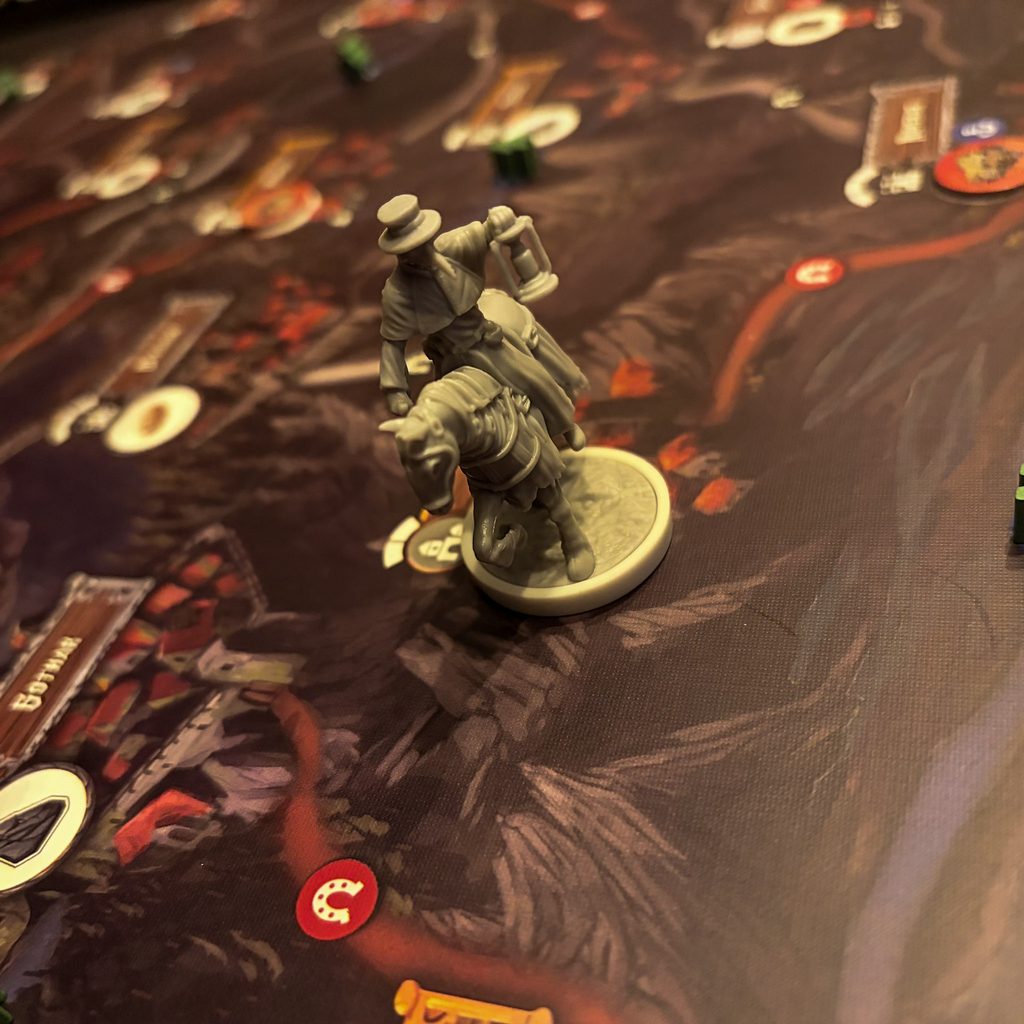
The Move action allows your Plague Doctor to travel across the map.
Normally, you can move up to two locations connected by roads. Moving through locations containing your own buildings, or through the Capital City, does not cost movement, allowing you to travel more efficiently across the map.
However, travelling through infected territory comes with a price.
Whenever you enter a location containing Sick People, you must quarantine them before continuing your journey. The first Sick Person you collect from a location is free, but every additional person costs Food.
The same danger exists on the roads.
If your Plague Doctor travels along a road containing Sick People, those Sick People must also be collected, and each one costs Food.
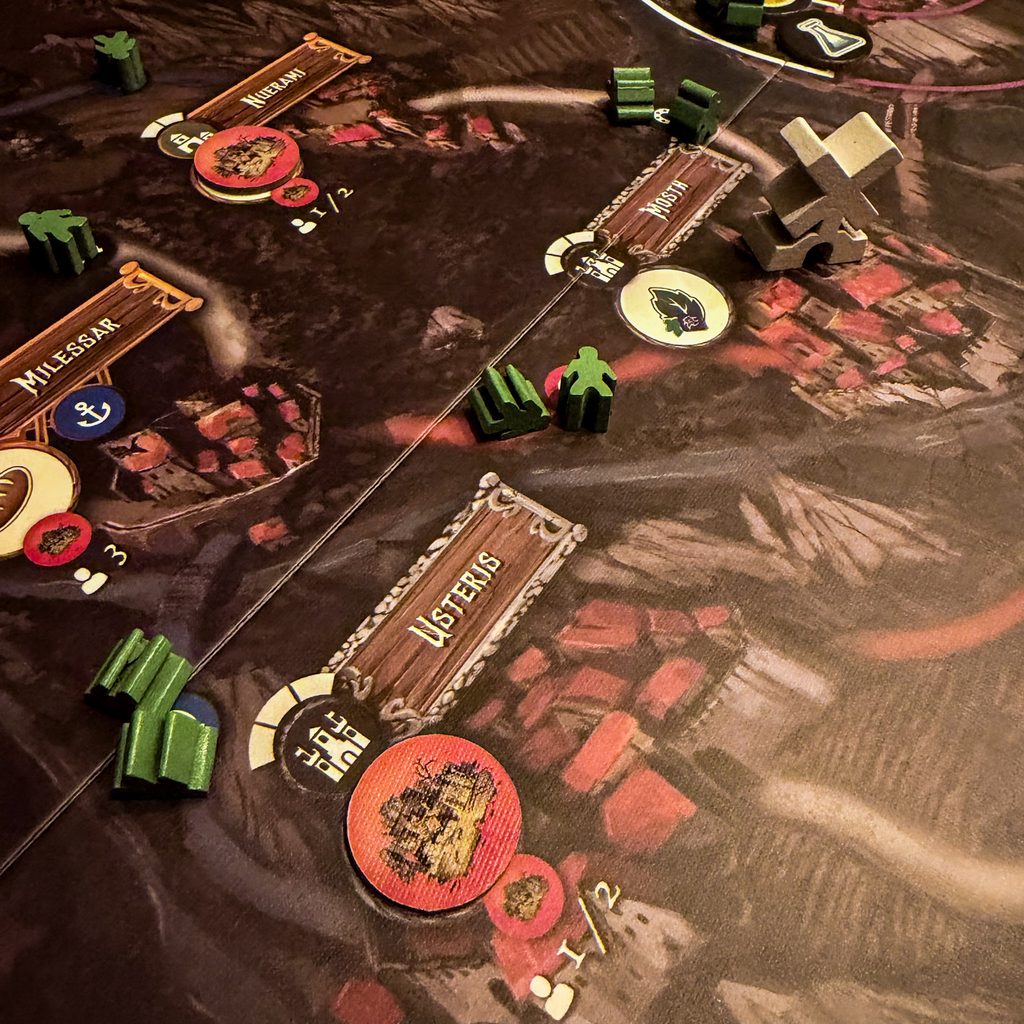
Fortunately, your Containment Camp can help.
Instead of spending Food, you can place or move your Containment Camp to protect a location and collect the Sick People there without paying the usual cost. Your Camp can also help protect locations from future infection and allows you to construct buildings in that location.
After completing your movement, your Plague Doctor gains one resource matching the location where they finish their journey.
Of course, if the location has already been destroyed by the Pest, there is nothing left to gain.
An Enhanced Move action allows you to travel even further, while a Hindered Move action limits your Plague Doctor to just one location.
The Construct action allows you to spend resources to build new structures across the map.
You can construct up to two buildings on the map during a single Construct action, provided your Plague Doctor or Containment Camp is present at the location where you want to build.
Villages can hold one building, Towns can hold two, and Cities can hold three.
Every building you construct becomes part of your growing engine. Once you have Healthy People available to work in your buildings, they can produce valuable resources during the Produce action.
You also gain Influence when constructing buildings, with larger locations generally rewarding you with more Influence.
Instead of building on the map, you can also use the Construct action to build one of the special Capital City buildings. These buildings can only be constructed once during the entire game, and they immediately reward the player who builds them with Renown.
An Enhanced Construct action reduces the total resource cost of construction, while a Hindered Construct action makes your construction more expensive.
So yes, even building a simple structure can become a struggle when the Pest has filled your Quarantine.
The Produce action is the moment when your buildings finally start paying off.
Your Castle produces resources automatically, as does your Factory. Other buildings need a Healthy Person assigned to them before they can produce.
Districts produce their assigned resource, the Workshop can produce extra resources, and the Treasury can provide Coins in addition to its normal production.
The more efficiently you have built your network, and the more Healthy People you have available to work, the stronger your engine becomes.
Some Healthy People on your Population track can also generate Research tokens when you Produce, giving you another important way to develop your strategy.
An Enhanced Produce action allows you to gain an additional basic resource from one of the resources you would normally produce.
A Hindered Produce action does the opposite and forces you to gain one less resource.
And once again, this creates one of PEST’s most interesting tensions.
The Sick People you are trying to save can literally weaken the actions you need to save them.
The Research action allows you to spend Research tokens to acquire Technology cards from the Technology market.
These Technologies represent new inventions and discoveries that can dramatically change the way you play.
Some make movement easier. Others improve your production, help you deal with Sick People, expand your Quarantine or give you completely new abilities.
You can have up to three active Technology cards available on your Player board. If all your spaces are occupied and you gain another Technology, you can cover an existing card, making that older Technology inactive.
Interestingly, inactive Technologies still count for endgame scoring.
The Research action also allows you to refresh the Technology market by spending a Research token before acquiring a new card.
So if the available Technologies do not fit your strategy, you can take a chance and search for something better.
Or perhaps something that will help you survive another round.
Eventually, your Quarantine will fill up.
And that means it is time to Cure.
By spending Herbs, you can move Sick People from your Quarantine onto your Healthy Population track. The further you progress along the track, the more expensive each cure becomes.
You can cure as many Sick People as you can afford during a single Cure action.

And this is incredibly important.
Healthy People are not just people you have saved.
They become workers.
They can operate your buildings, generate Research, contribute to the Capital City and help you score Renown.
So curing the infected is not simply an act of kindness.
It is also the fuel that powers your entire House.
The Assign action allows you to put your Healthy People to work.
You can assign them to your constructed buildings, allowing those buildings to produce resources. You can also send them to the Capital City.
Sending Healthy People to the Capital City can provide immediate rewards by claiming one of the available Capital City tokens.
At the end of each Era, the players who have contributed the most Healthy People to the Capital City can receive additional rewards from the Capital City card.
You can also reassign your Healthy People between buildings, giving you the flexibility to adjust your engine depending on what resources you need.
The Assign action also allows you to rearrange Sick People inside your Quarantine.
And sometimes, moving the right Sick Person into the right place can be just as important as building an entire city.
During your turn, you can also perform any number of Free Actions before, after or between your main actions.
You can trade basic resources to gain Coins, and you can spend Influence to claim resources offered by the current Aid card.
These actions might seem small, but in a game where every resource matters, they can often be the difference between completing your plan and watching it fall apart.
Once every player has used all of their Assistants, the Year comes to an end.
All Assistants return to their Player boards, ready to be used again in the following Year.
The player order is then determined by the Loyalty track. The player furthest ahead becomes the First Player, with ties being resolved by the position of the markers on the track.
After Years Two, Four and Six, an entire Era comes to an end.
And that is when the bigger rewards and consequences begin to appear.

At the end of each Era, players score the current Agenda cards.
Agendas reward players for constructing buildings in locations that match specific requirements, earning Renown based on the buildings they have successfully placed.
The Capital City is then scored.
Players compare how many Healthy People they have assigned there, and the players with the highest contributions receive the rewards shown on the Capital City card.
Afterward, all Healthy People are removed from the Capital City, the Capital City tokens are refreshed, and everyone prepares to begin the next Era.
But there is still one final consequence.
You check your Graveyard.
The more Dead People you have, the more Infamy you receive.
So every person you failed to save continues to haunt your score.
At the end of Era One and Era Two, players also gain an additional Assistant, giving them more actions during the later stages of the game.
The world is becoming more dangerous.
But at least you are becoming slightly better prepared.
Hopefully 😜
Throughout the game, players also try to follow the Empire’s Imperatives.
At the beginning of the game, three Imperative cards are selected, each offering a different condition that players can fulfill.
These conditions might reward you for curing large numbers of Sick People, researching Technologies, gathering infected citizens or assigning Healthy People to buildings and the Capital City.
Every time you fulfil one of these requirements, you advance on the Loyalty track.
At the end of the game, your position on this track can reward you with a significant amount of Renown.
So while you are desperately trying to survive the Pest, you are also competing to prove that your House is the most loyal, efficient and useful to the Empire.
Because apparently, even during a plague politics never stops.
After the sixth and final Year, the third Era ends and the game comes to a close.
Players now calculate their final Renown.
You score all the Renown tokens you collected during the game, along with the reward from your final position on the Loyalty track.
Your Healthy Population also scores points depending on how far you progressed along the Healthy Population track.
You score Renown for the buildings you constructed, with additional bonuses available for completing groups of buildings on your Player board.
Every Technology you acquired also scores its printed Renown value, including Technologies that are no longer active.
Your remaining Influence, resources and Research tokens can also be converted into additional Renown.
And then comes the final punishment.
For every Infamy token you have collected, you lose one Renown.
After everything has been calculated, the player with the most Renown wins the game.
If there is a tie, the player with the most Influence wins.
And if players are still tied after that they share the victory.
And that is how PEST plays.

Conclusion & end score
Difficulty: 3.27/ 5
Re-playability: 8
Our score: 8 out of 10 dice
Honestly, Pest surprised me.
When I first saw the game on the table, my initial thought was that there was a lot going on. And I mean… a lot. The board is huge, there are components everywhere, cards to look at, resources to manage, Sick People spreading across the map, and, of course, those rather intimidating Plague Doctors staring back at you.
It looks impressive. But it also looks like a game that is going to ask a lot from you.
And in the beginning, it does.
Your first game of PEST can feel like you are trying to survive the plague while also trying to survive the rulebook. There are quite a few systems working together, and before you really understand how everything connects, it can feel a little overwhelming.
But for me, once that first fog disappeared, the game really started to come alive.
What I personally enjoy most about PEST is the feeling that there is always something demanding your attention.
You need resources, build, research, cure Sick People, and keep your Quarantine under control.
And while you are trying to do all of that, the Pest keeps spreading.
That is the part I really like.
The game does not allow you to sit back and simply build the perfect engine in peace. Just when you think you have everything under control, another Pest card appears, and suddenly your attention needs to go somewhere else.
I also really enjoy the action-selection system. The fact that every Assistant gives you a combination of two actions makes every placement feel important. You are constantly looking at your Player board and thinking, “Okay… I really need to do this, but if I choose this spot, I also get that action.”
And sometimes that combination is perfect.
Other times, you have to make a compromise, and PEST is full of compromises.
The constant chain of decisions is what made the game work for me.
I also think the theme does a lot of heavy lifting here, in a good way. The Sick People are not just another resource. At first, they are a problem. They take up space, can block your actions, or can limit your storage.
And if you cannot deal with them, they die.
But when you finally manage to cure them, they suddenly become incredibly valuable. They can work in your buildings, help you produce resources, and contribute to your plans. For me, that makes the whole system feel satisfying.
You are constantly transforming a problem into an opportunity.
Now, is everything perfect? No.
The game takes up a serious amount of table space. And depending on the number of players, I can definitely see the downtime becoming an issue. Personally, I also think PEST is a game that benefits from playing with people who already know what they are doing, because once everyone understands the flow, the game feels much smoother.
The board is also something we have mixed feelings about.
I really like the dark atmosphere, and the visual presentation fits the theme perfectly. But sometimes the board can feel a little busy, and finding the correct roads and connections can take more time than I would like. These things did not ruin the experience for me, though.
As we played the first edition, which had some errors in the rulebook, we also noticed some positive adjustments in the second edition. I particularly like the Era board, which makes the rounds easier to determine and gives the game a better structure.
When everything is working, Pest creates some genuinely great moments.
Personally, I think Pest is a game that gets better the more you understand it.
It is not a game I would recommend to someone looking for something light and relaxing. This is a game that asks you to pay attention, plan ahead, and constantly adapt.
But if you enjoy medium-heavy Eurogames with a strong theme, interesting decisions, and a healthy amount of pressure, then I think Pest has something really interesting to offer.
It’s not just moving pieces around a board to collect victory points. You are constantly trying to solve problems.
Pest is dark, demanding, and sometimes a little chaotic.
But once you understand how all its systems connect, there is a very satisfying game hiding beneath all that disease, destruction, and death.
And personally, I am more than happy to go back into Thokaia.
Just don’t ask me to guarantee that everyone will survive 😳.
Because after all, this is Pest.
Thanks to Archona Games for this review copy and the opportunity to write about this game.